Glue and paint are probably my three year old daughter’s favorite art supplies. She would happily use either for hours. Gluing and painting are the two main steps of making these patriotic twine stars. So, my daughter loved making them. They not only make a good 4th of July craft for kids, they are a simple 4th of July decoration to hang inside.
Because of all the drying times, we made this craft over three days. You can do it quicker if you use a fan or sunshine to speed up drying times. If you want to adapt this craft for another holiday or occasion, you can use the same process to make any other simple shape.
Disclaimer: This page may contain affiliate links. As an Amazon Associate I earn from qualifying purchases. If you choose to make a purchase after clicking a link, I may receive a commission at no additional cost to you. Thank you for your support!
How to Make Twine Stars as a 4th of July Craft for Kids
Supplies:
Creating – Day 1:
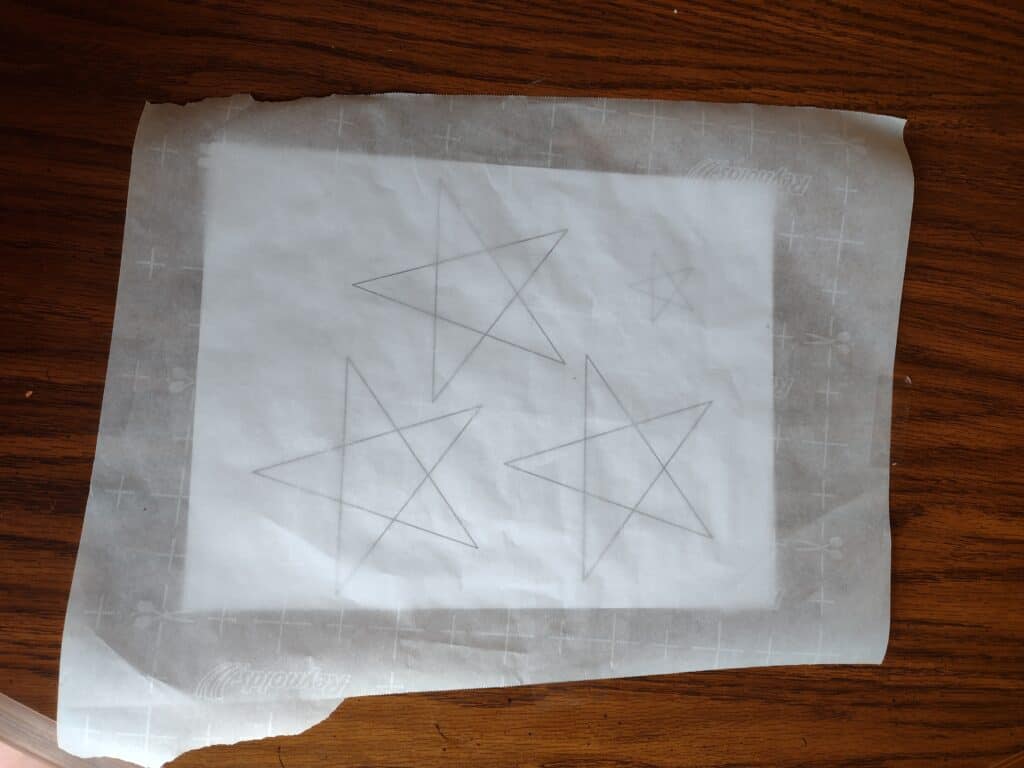
Before starting this craft with my daughter, I printed out a picture of three stars to use as a pattern. You can get my star pattern here. Then, I taped a piece of parchment paper on top of it. To keep it from moving, I taped the whole thing to the kitchen table. Ignore the other little star (not included in my pattern), it was for a different craft that didn’t work out.
Next, I showed my daughter how to glue following the outline of the stars. I guided her hand on the first one. Then, she did the next two as well as she could and I covered the lines she missed. She did a really good job.

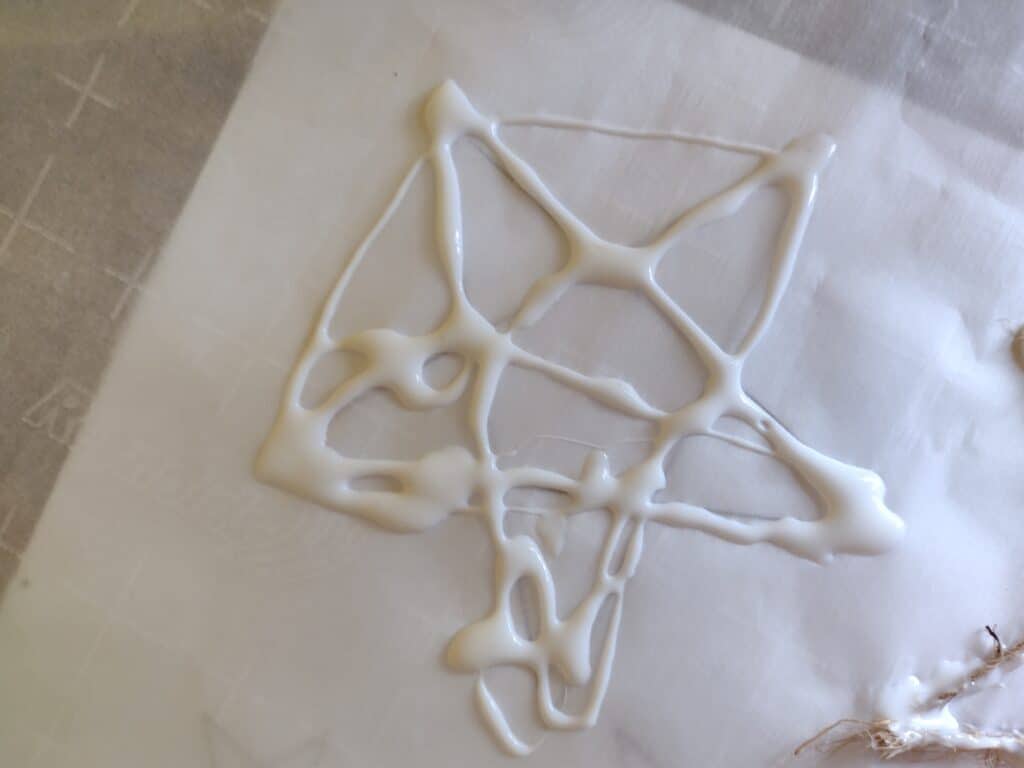
Then, we placed down twine that I had cut to the length of a star side. My daughter struggled with this step more. I let her try as much as she wanted to before stepping in to help.


Lastly, my daughter glued another layer of glue on top of the twine. She was able to do this part entirely herself. All I did was point out the areas she had missed.


Now it was time to let the glue dry.


Creating – Day 2:
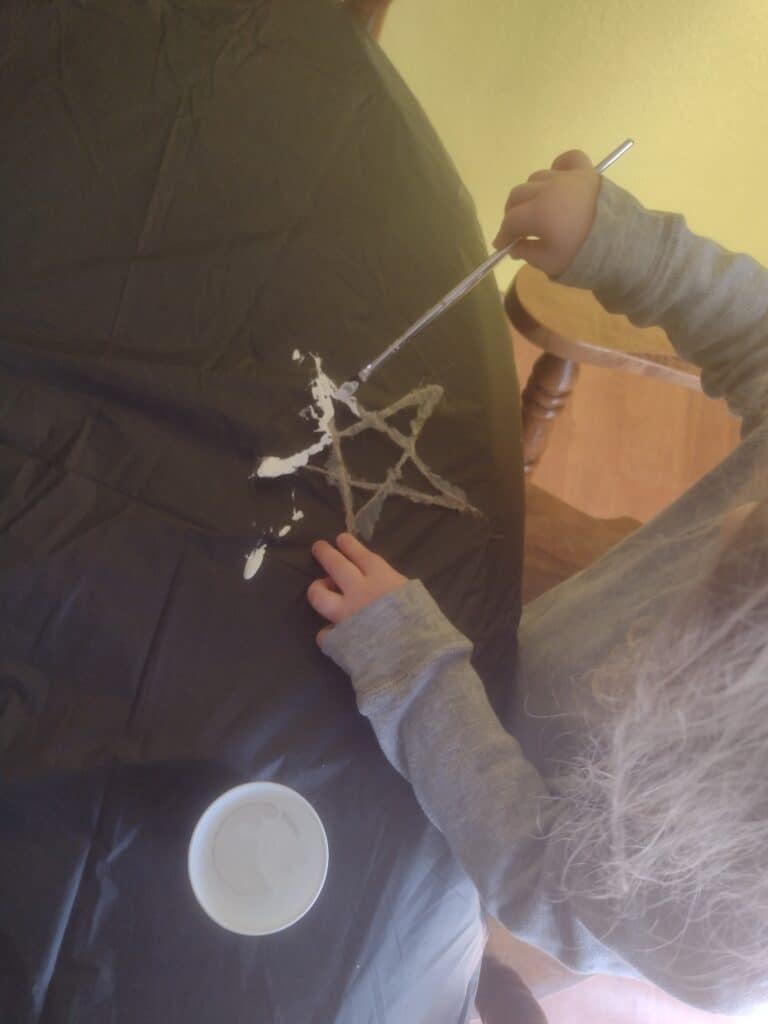
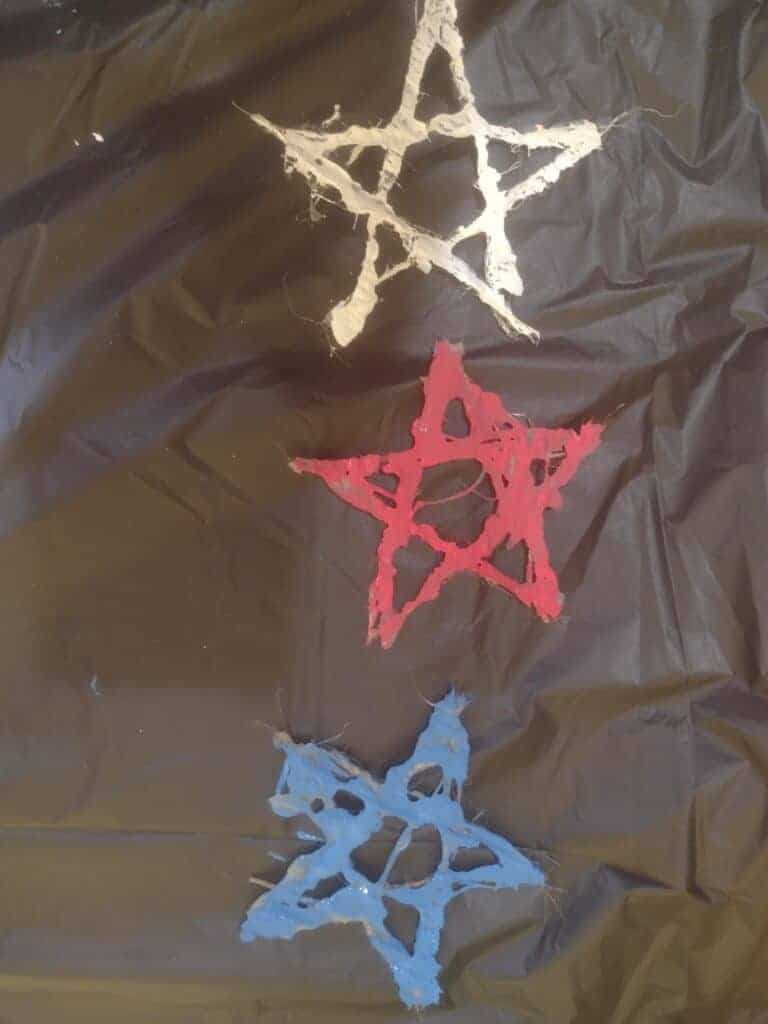
After the glue dried, it was time to paint. My daughter put on her paint clothes and I set up her painting area. Then, she painted both sides of her stars red, white, and blue. I decided against it, but if you want extra durability, you can apply Modge Podge after the paint dries.

Creating – Day 3:
Now that the stars were dry and finished, I tied them together using more twine. I also tied a loop at the end of the top piece of twine to hang it from.

Conclusion of 4th of July Craft for Kids:
As I said before, my daughter loved making these twine 4th of July stars. I like how the decoration turned out. The white star is the one I guided her hand on for the first layer of glue and it is actually my least favorite. I like how the extra random lines of glue on the other two stars give them more character. What do you think of this 4th of July craft decoration?