
Disclaimer: This page may contain affiliate links. As an Amazon Associate I earn from qualifying purchases. If you choose to make a purchase after clicking a link, I may receive a commission at no additional cost to you. Thank you for your support!
I have noticed balloon arches becoming the latest trend for parties. I always try to throw my kids unique and fun parties, but have never once considered adding a balloon arch. You know why? They are SO expensive. But, while I was planning my son’s 2nd ball party, I came across balloon tape at the Dollar Tree. I picked it up and it sat in my to do pile for a long time. Suddenly, my son’s birthday party was a few days away and I needed to figure out what to do with it. Using this video by Bubbly Balloon Co, I was able to figure out how to make a balloon garland. I waited until the night before to make it for my son’s party so it was a surprise for him in the morning.
While her video is full of helpful information, I wanted to break it down into a few simple steps and tips you can read. This is all you really need if you are making a balloon arch for a party or two. Even though I had just learned how to make one, it is what caught everyone’s eye at my son’s party. If you are getting into making them professionally, you may want to delve in further.
How to Make a Balloon Garland
Materials:
- Balloons (variety of sizes and colors)
- Balloon tape
- String and push pins or other way to hang the garland
OR
Prepping the Balloons:
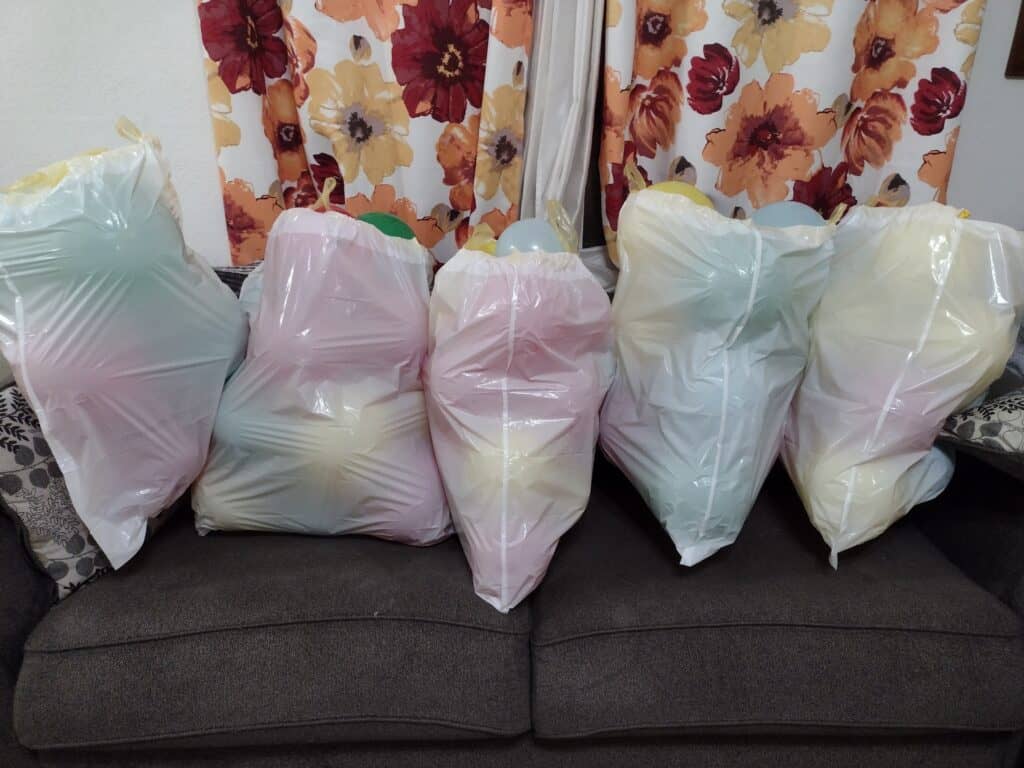
Since I wanted to keep my balloon arch a secret and fully make it after my kids went to sleep for the night, I did a lot of prep. None of this needs to be done in advance, but you should still read this section for tips on blowing up the balloons.
For several days before the party, I blew up balloons and placed them in garbage bags. I blew them all up myself, but you can use an balloon air pump. My son’s ball birthday party had a color theme of red, blue, green, and yellow. So, I got balloons in those colors and in a variety of sizes (7″, 9″, 12″). Three tips I learned from the video were to squeeze the balloons, inflate to different sizes, and tie two knots.
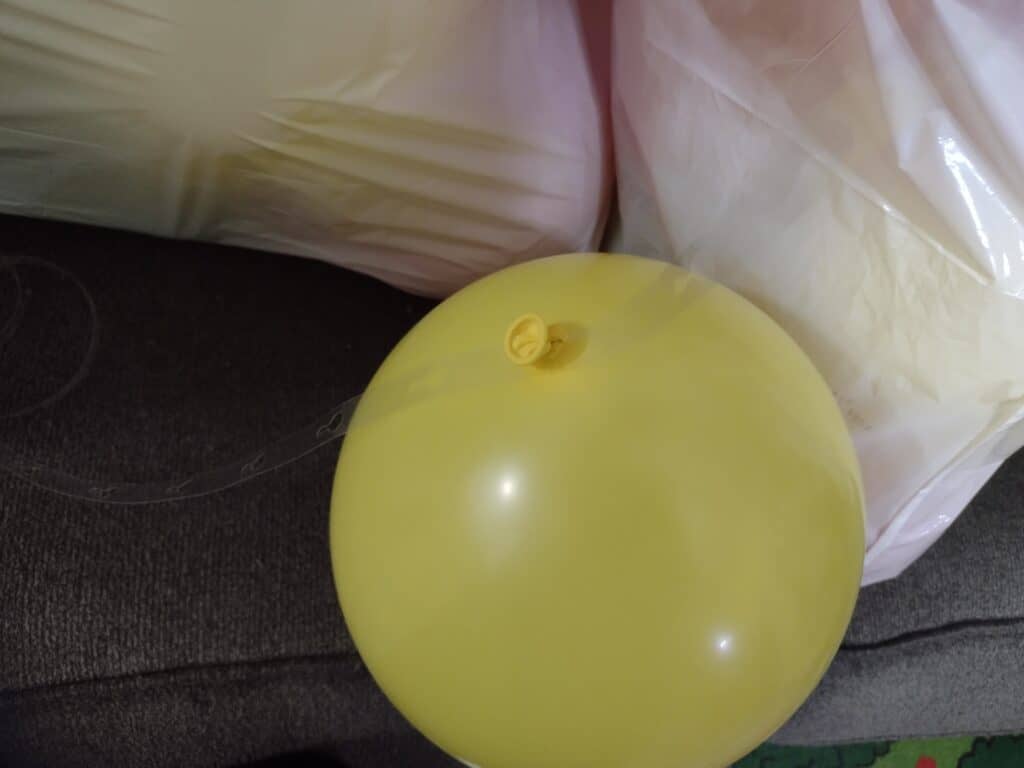
1. Squeeze the Balloons
According to the video, squeezing the balloons makes them look more professional. I found that they also made the balloons more spherical which was perfect for a ball themed party. All I had to do was blow up the balloon to my desired size and push the top and bottom together firmly a few times.
2. Inflate to Different Sizes
You already get some variety of sizes by buying differently sized balloons. But, for an even more fun looking balloon garland, you should also vary how much air you put in each balloon. I didn’t do this systematically at all, but just tried to blow some up less and some more.
3. Tie Two Knots
The video mentioned tying two knots on your balloon instead of one to keep them on the balloon tape better. It did help with that, but I also think it made my balloon garland last longer. We ended up keeping it up for a month and a half. The balloons had started to deflate by then, but not nearly as much as I would have expected.
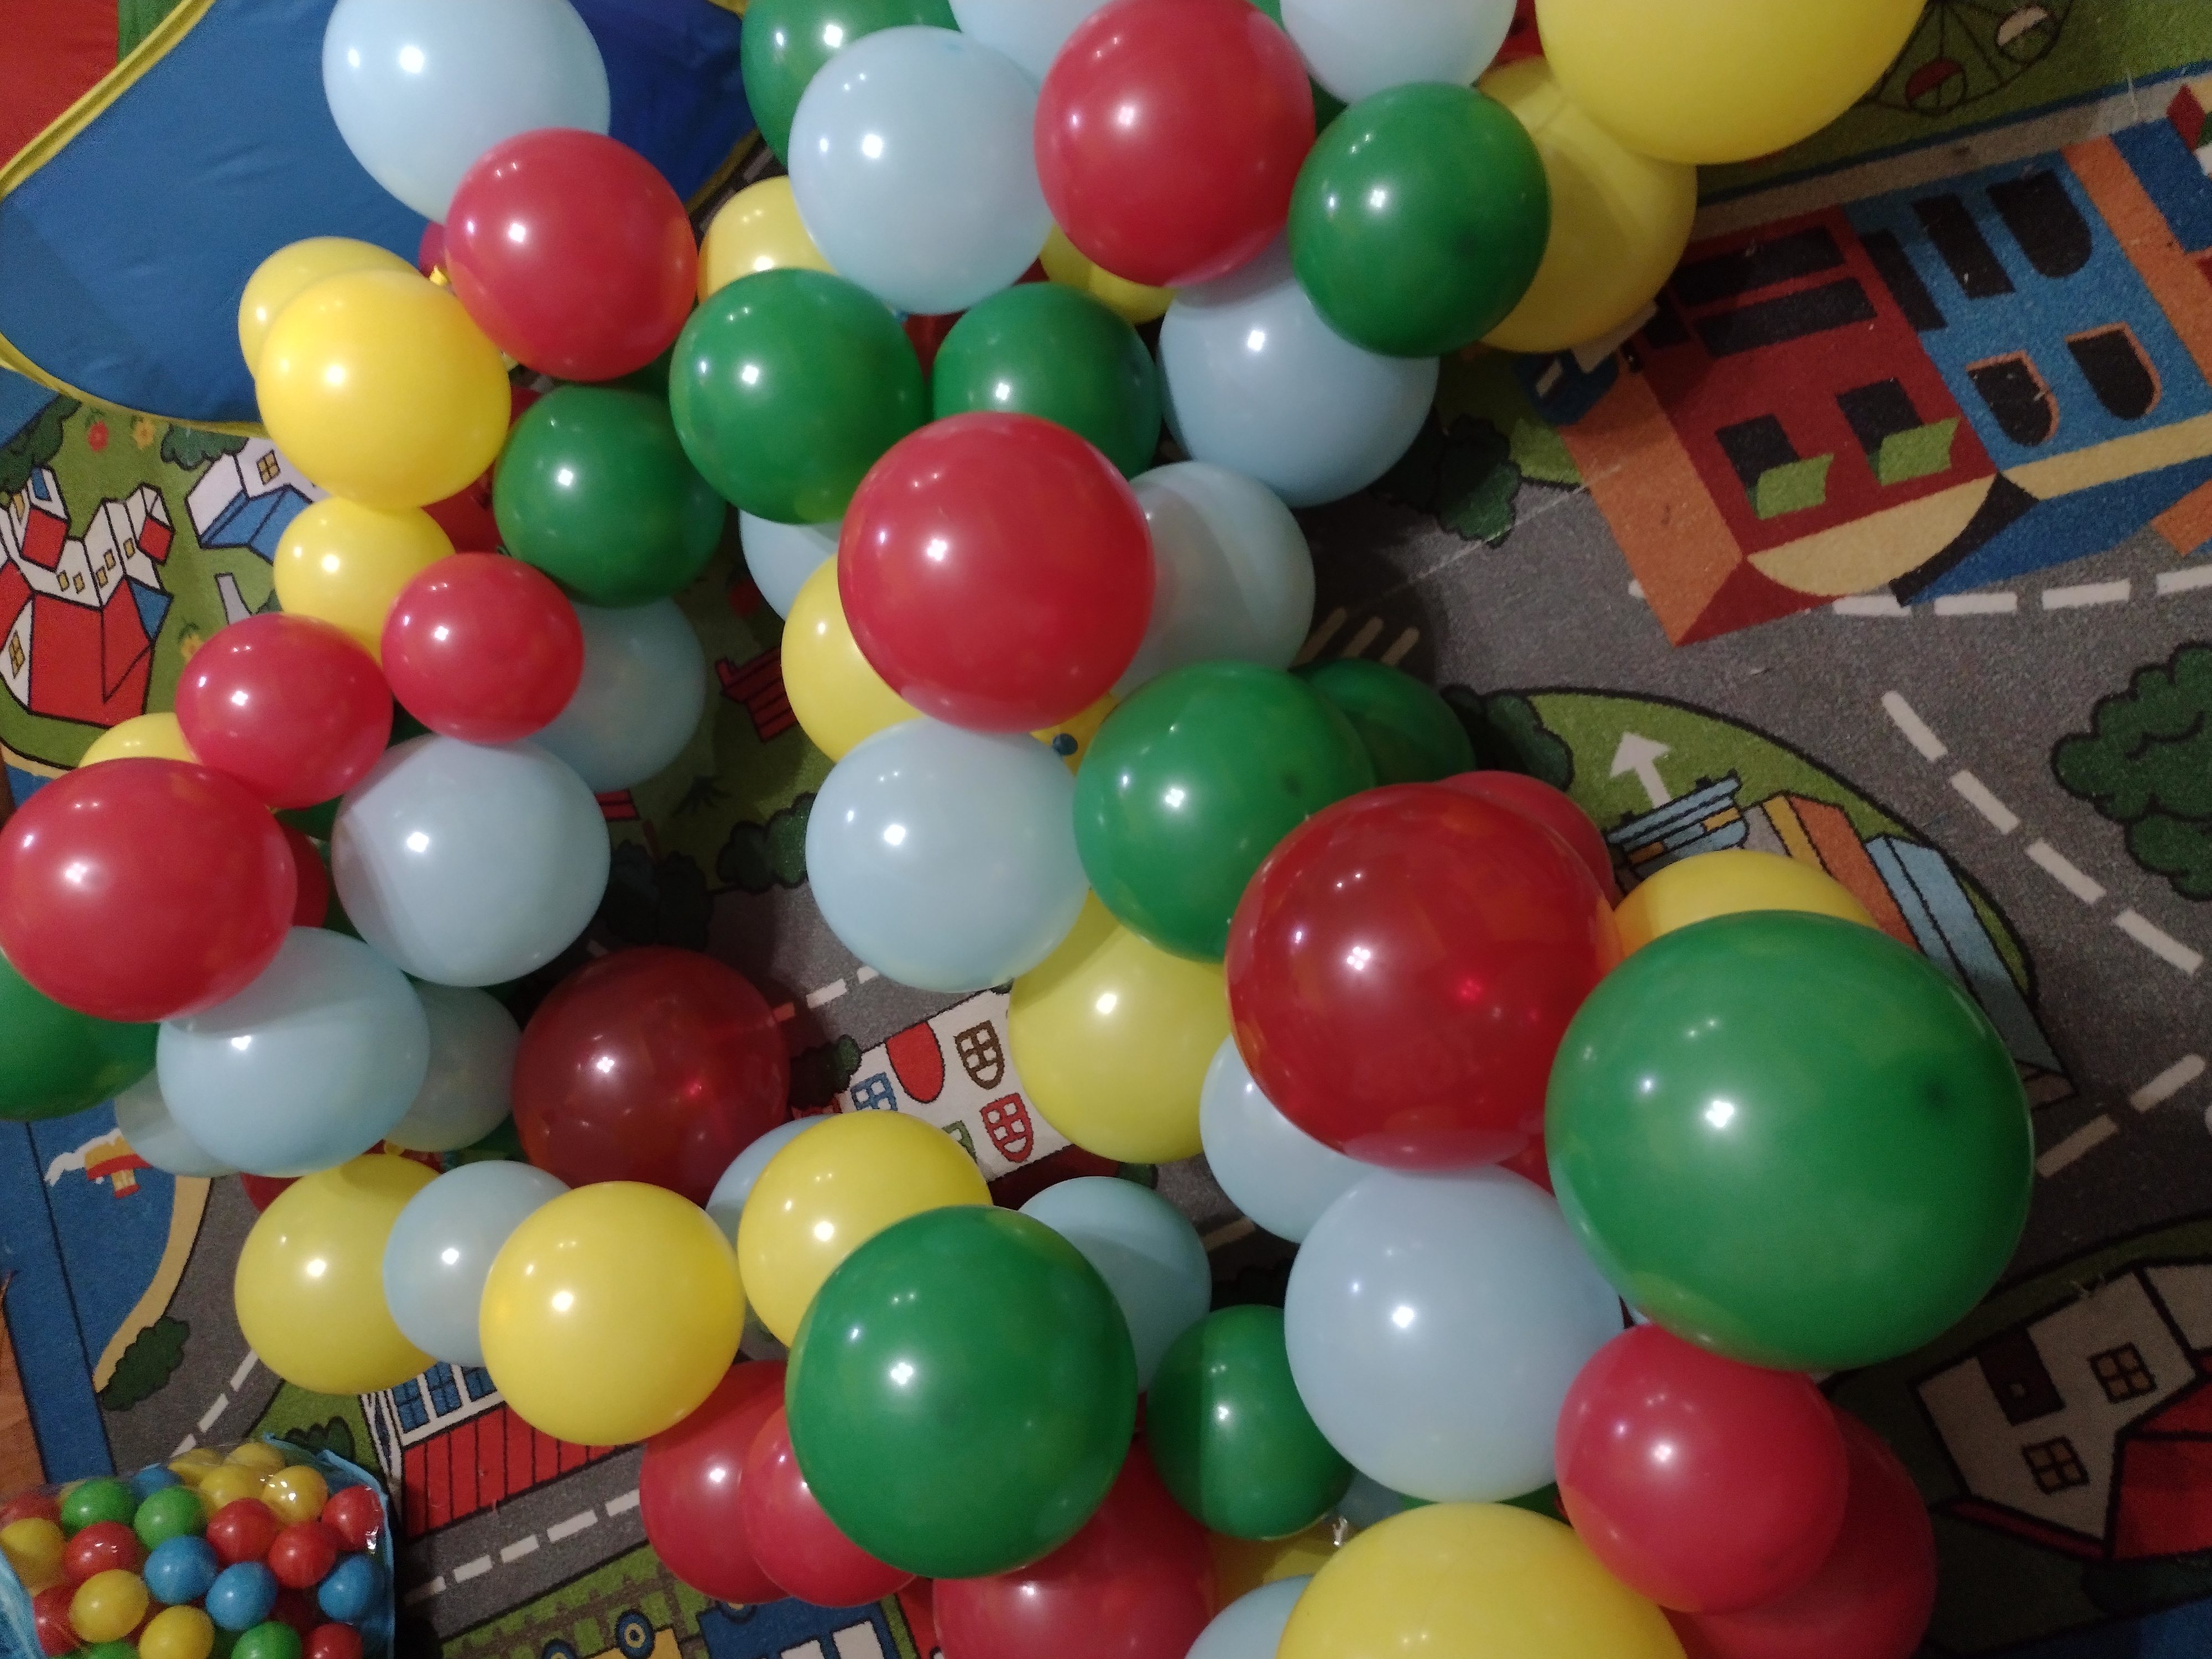
Making the Balloon Arch:
Now that I had most of my balloons blown up, it was time to figure out how to make a balloon garland. It turned out to be really simple. The balloon tape I used had a bunch of big holes touching smaller holes. To begin, I threaded the end of my first balloon into a large hole several holes from the end. Then, I pulled it to the side until it went into the little hole. I didn’t start with the very first hole to leave an easy way to hang the balloon garland later.
Then, I placed the next balloon in the following hole. If the balloons ever got so crowded that a balloon wouldn’t fit, I tried to fit a smaller balloon. If that didn’t fit, I skipped that hole and moved on to the next one. I tried to vary the sizes and colors of balloons that I put next to each other. Towards the end of the balloon tape, I ran out of balloons and had to blow up more as I went. If you don’t want to prep, it is just as simple to blow them up as you go.
Hanging the Balloon Garland:
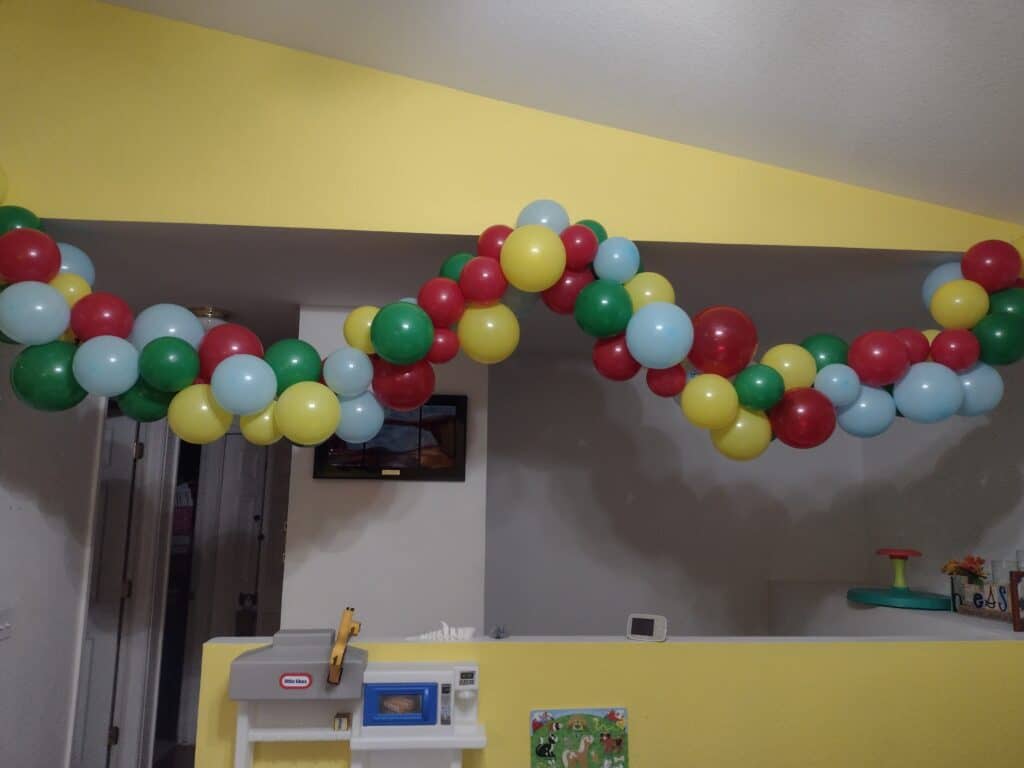
Now that you have a finished balloon garland, it is time to hang it. This is much easier than it seems because, even with a bunch of balloons, the whole thing is really light. If you are using a balloon garland kit, they probably have their own hanging materials for you to use. I just used push pins and string. Using a push pin, I attached each end of the balloon tape to the wall. Since I left extra holes on both ends of the tape, this was really simple.
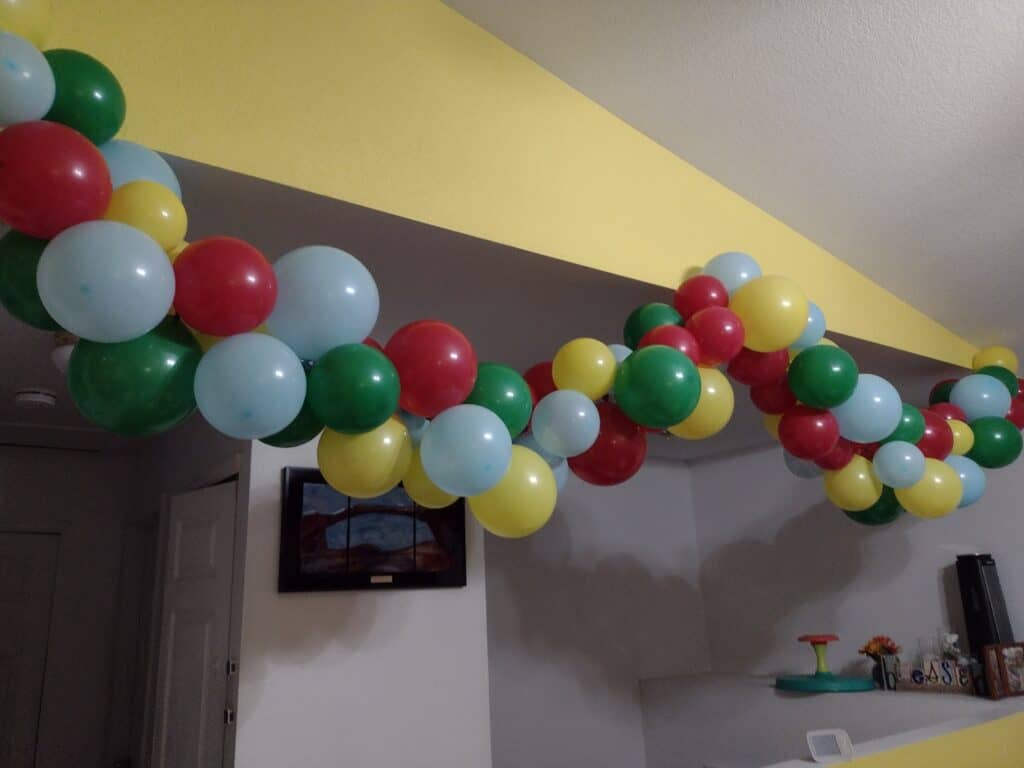
Next, I decided I wanted two swoops instead of it all just hanging down. So, I tied string around the middle and used another push pin to attach it to the wall halfway between the ends. I adjusted things several times until I was happy with how it looked. I also moved and twisted some of the balloons to hide any of the tape that showed through.
Conclusion of How to Make a Balloon Garland
This was so much easier than I expected and I was happy with how it looked. Almost every adult that came to the party asked how I made it and more importantly my son loved it. He kept pointing at it and saying “ball”. As I mentioned above, we kept it up for about a month and half. I only ended up taking it down to decorate for my daughter’s Paw Patrol birthday party. It might not have looked fully professional, but it looked really good and was much cheaper.
What type of party or get together are you considering making a balloon arch for? If it is for a ball themed party, like my son’s, make sure to check out my other fun ball decorations, activities, and food.