Weeds are my number one enemy. This is the 5th summer that we have had a garden. Every year we have started out excited, but every summer I fall behind to the never ending weeds. In my defense, I have been pregnant or had a newborn every summer so far. This year we are late to planting, but who knows maybe this is our year to conquer the garden. But no matter how many weeds spread, my new Shrinky Dink DIY garden pinwheel will stand strong. Well, as long as a hailstorm or other weather doesn’t take it out.
I love how this pinwheel turned out. I made it from flower petal shaped shrink plastic pieces that each member of the family colored. Seeing everyone’s artwork in the garden is so much fun. I almost chickened out and left the pinwheel inside to make sure that it wouldn’t get ruined. But, I know someone has to see how it holds up and I want to be able to tell you guys if it works or not.
Disclaimer: This page may contain affiliate links. As an Amazon Associate I earn from qualifying purchases. If you choose to make a purchase after clicking a link, I may receive a commission at no additional cost to you. Thank you for your support!
How to Make a Garden Pinwheel Using Shrinky Dinks
Materials:
- Shrink Plastic (you can also use #6 plastic)
- Colored pencils or permanent markers
- Parchment paper
- Picture hanging nail
- Jug cap
- Hot glue
- Mod podge (optional if staying indoors)
- Jumbo popsicle sticks (preferably green)
- Fake leaves (optional)
Making the Shrinky Dink Petals:
Getting everyone’s art on the pinwheel petals was the most important part of this craft. But, before I could get to that, I had a little prep I needed to do. First, I needed to cut out petals from the shrink plastic. Here is the pinwheel petal pattern that I made. I made six, but you can change the size and amount as you see fit.
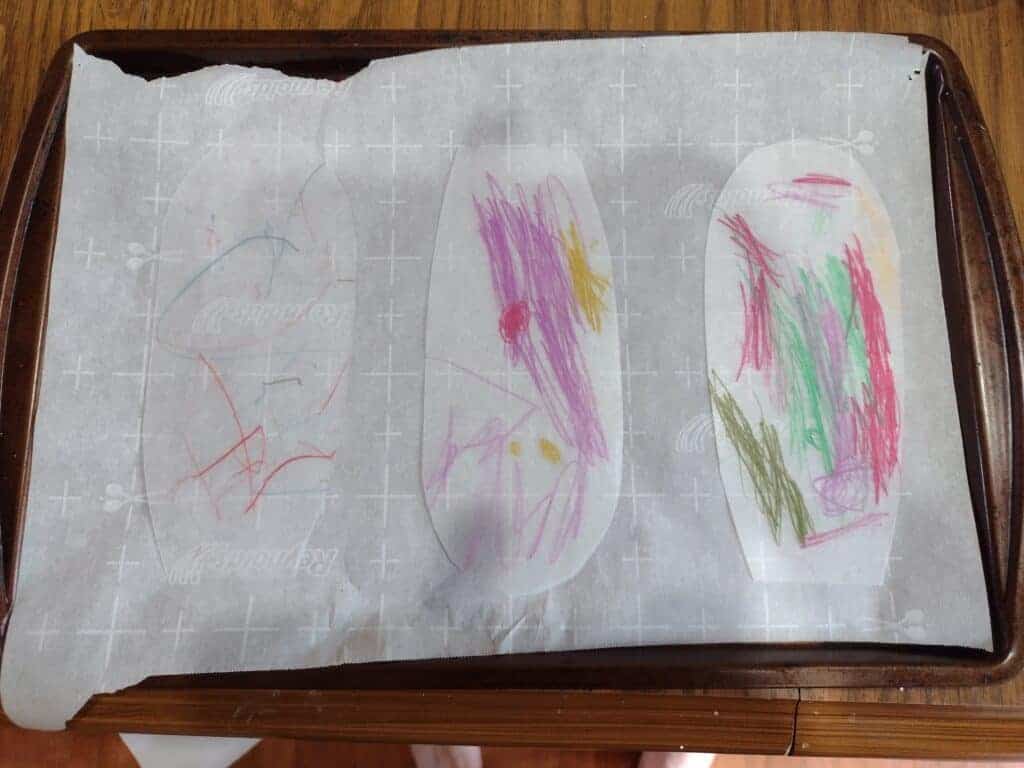
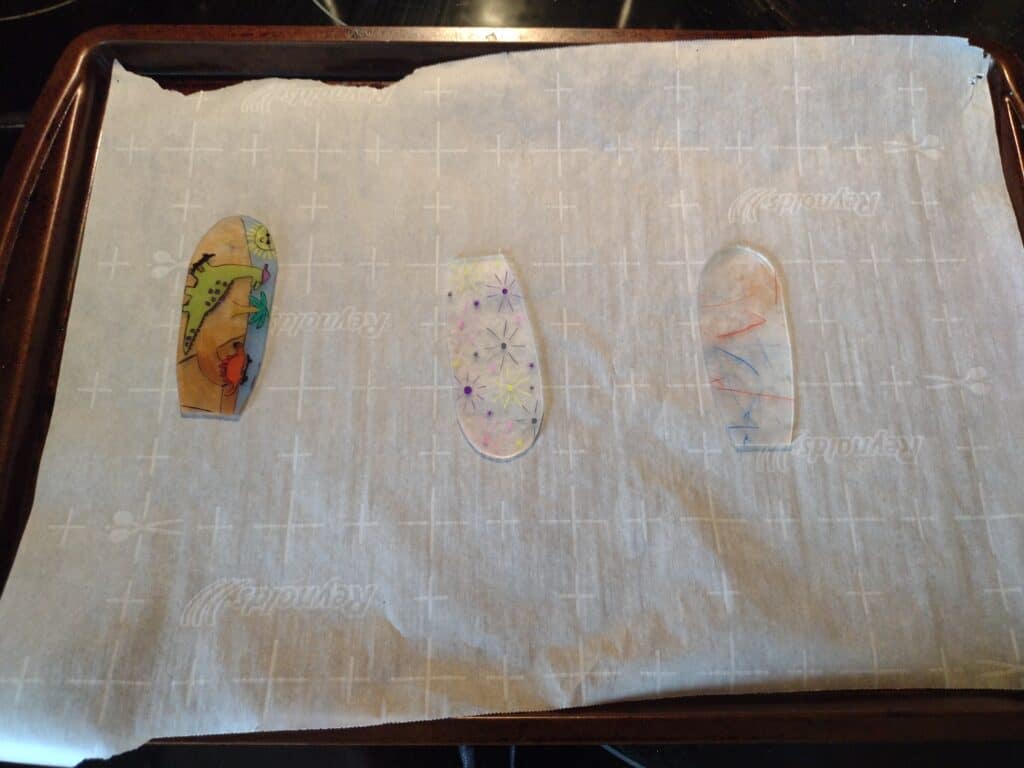
Then, it was time for the whole family to get involved. I gave my 3 year old daughter and 1 year old son two Shrinky Dink petals each and some colored pencils. My husband and I each did one. I put a piece of white printer paper under the Shrinky Dinks to make it easier to see the colored pencil. It will get darker once it bakes in the oven. If you use colored pencils, you need to draw on the rougher side. You can also use permanent markers and draw on either side.


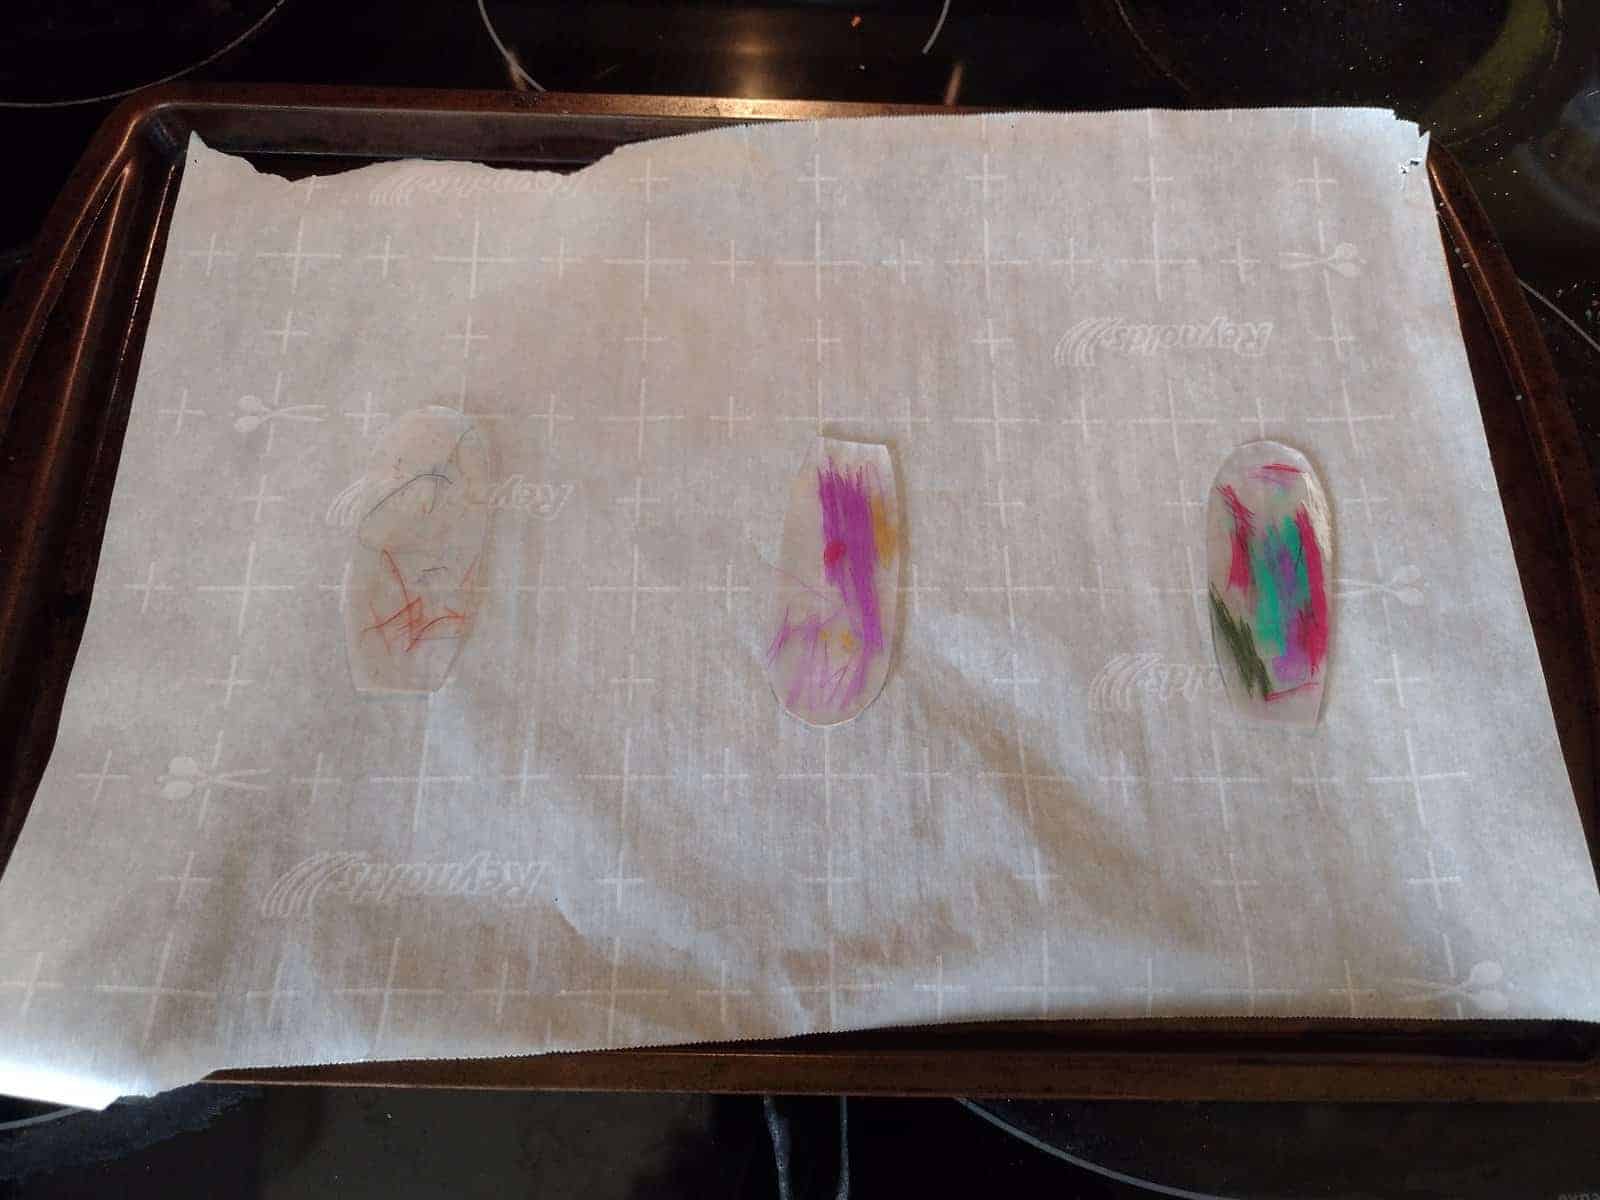
Once we had all finished, it was time to bake our Shrinky Dinks. I had already preheated the oven to 330°F and put parchment paper down on a cookie sheet. All of our petals didn’t fit, so I baked them in two batches.

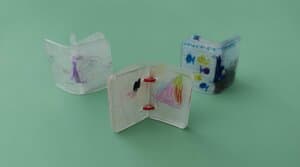
It only took a couple minutes for them to curl up and lay back down flat in the oven. Then, I waited about one more minute and took them out. If your kids enjoy coloring on the shrink plastic, try my Shrinky Dink book craft as well.
Making the Shrinky Dink Flower:
After the kids went to sleep, I made the rest of the pinwheel. I started by poking a picture hanging nail through the middle of a lid from a gallon of milk. Then, I took the nail back out.

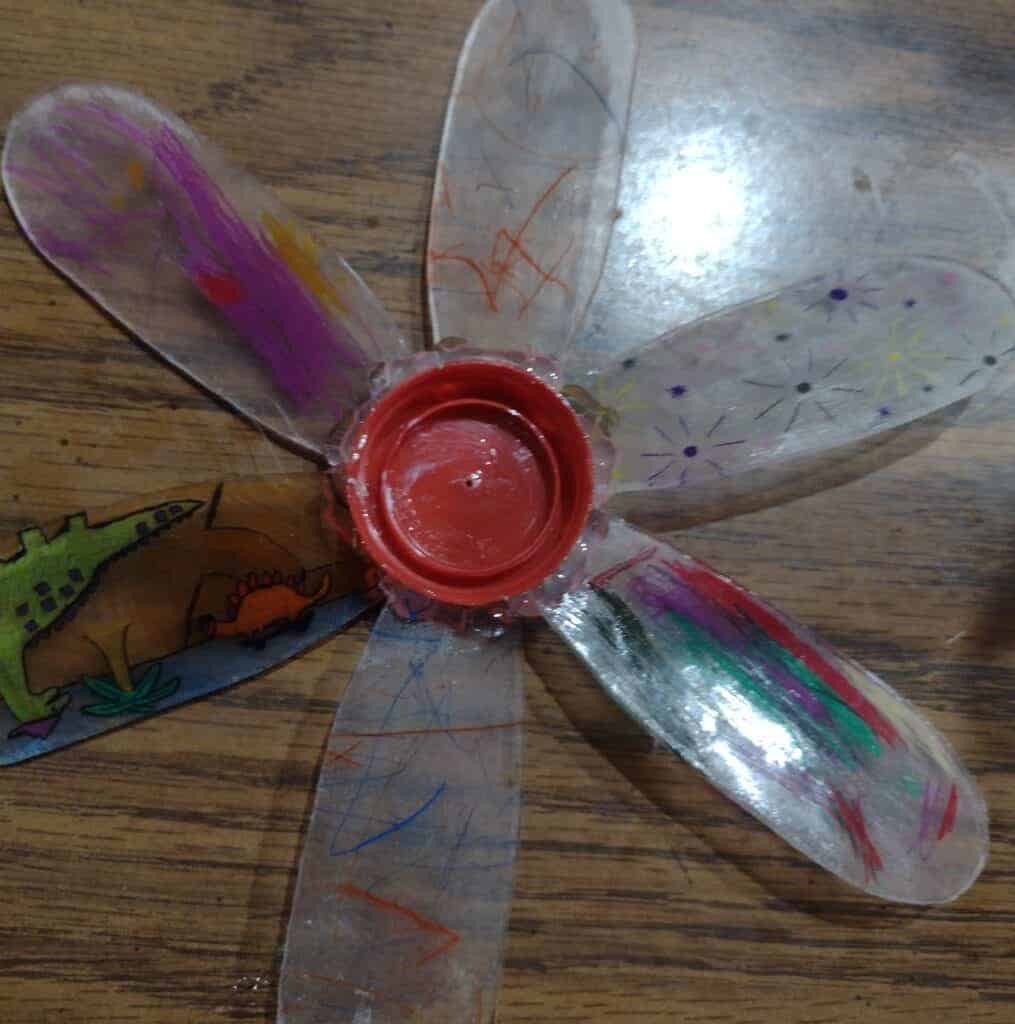
Next, I hot glued all the petals onto the jug cap. I glued each one at an angle in hopes of getting it to spin in the wind. Before gluing, I did lay the petals out flat around the cap to see what the spacing needed to be.

After I glued it all together, I had pretty big gaps between the sides of the petal bottom and the cap. Basically I was gluing a straight edge to a round cap, so it was together but not super strong. So, I put more hot glue on both sides of the cap to fill in those gaps. Unfortunately, this didn’t look as nice, but I think it was worth it for the added strength. I also, painted Mod Podge all over everything in hopes of making it more weather proof.

Making the DIY Garden Pinwheel:
I now had a pretty flower top, but I still needed the base to make it into a pinwheel. First, I hot glued the nail from before onto a jumbo green popsicle stick. Then, I glued another green popsicle stick to the base of the first to make it longer. My daughter and I made a bird feeder from popsicle sticks last summer and I saw how much the popsicles degraded being outside. So, I painted the base with Mod Podge too.

Then, it was time to put it all together. I placed the stem’s nail through the hole in the milk jug cap that I had made earlier. Next, I put a big dot of hot glue on the end of the nail. I did this to protect the sharp end of the nail and to keep the flower head on.

Lastly, I took some fake leaves and glued them to the back of the popsicle sticks. This step is optional, but I think it really completes the flower look.

Now, it was time to put it out in my garden. As I said before, we are still planting our garden, so ignore the empty beds and weeds in the background. And while you are out in your garden check out these fun nature paintbrushes from Mud Pies with Sprinkles.

Outcome of Making a Shrinky Dink DIY Garden Pinwheel:
I do really like how this pinwheel turned out. My initial idea was just a pinwheel, but as I made it I realized how much it was going to look like a flower. So, I ran with that idea and I think it made it look so cute. Everyone’s art is easy to see and the very different styles of drawing give it a fun mix.
I did try to weather proof my garden pinwheel as much as I could. But, I probably only succeeded in making it somewhat weather resistant. So far it has successfully survived 24 hours outside and one rainstorm. I will update this post as I see how well my pinwheel fares the summer. If the sun or storms do ruin it, I will make an indoor one instead. I think it would also look really cute in an indoor pot even if it doesn’t have any wind to spin in. With all the weight of the Shrinky Dinks and hot glue it spins some in the wind but not a whole lot.
Overall, I love this addition to my garden. I hope it lasts for years and years. Meanwhile, I guess I need to go work more in my garden. What is your favorite thing to grow in the garden?