Disclaimer: This page may contain affiliate links. As an Amazon Associate I earn from qualifying purchases. If you choose to make a purchase after clicking a link, I may receive a commission at no additional cost to you. Thank you for your support!
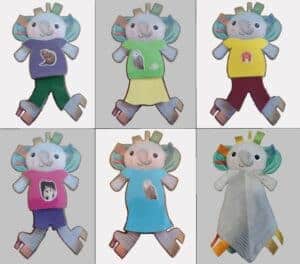
Keeping a toddler quiet and still during church is one of the hardest things. So, when we forgot the kids’ quiet bags at home, my husband and I considered ourselves doomed. The silver lining was I hadn’t removed my toddler’s and preschooler’s entertainment out of the car from our recent road trip. I quickly went and gathered a few of the quieter items. This unfortunately ended up mostly being my three year old daughter’s stuff. But, my one year old son really enjoyed his sister’s busy book. When we got home, I immediately made him his own DIY busy book.
I really like the book that I got for my daughter. It has lots and lots of pages with themed items that Velcro on. On the back of every page there is a dry erase picture or item to trace. This is all really great for her, but I wanted my son’s to be a little different. I wanted him to have bigger and tougher pieces with pictures that catered more to him. There was also no reason to have a dry erase side. Trusting him with a dry erase marker would probably end in the building needing pressure washed. I loved being able to make him a book that was perfect for him.
How to Make a Velcro DIY Busy Book:
Materials:
Making the Busy Book:
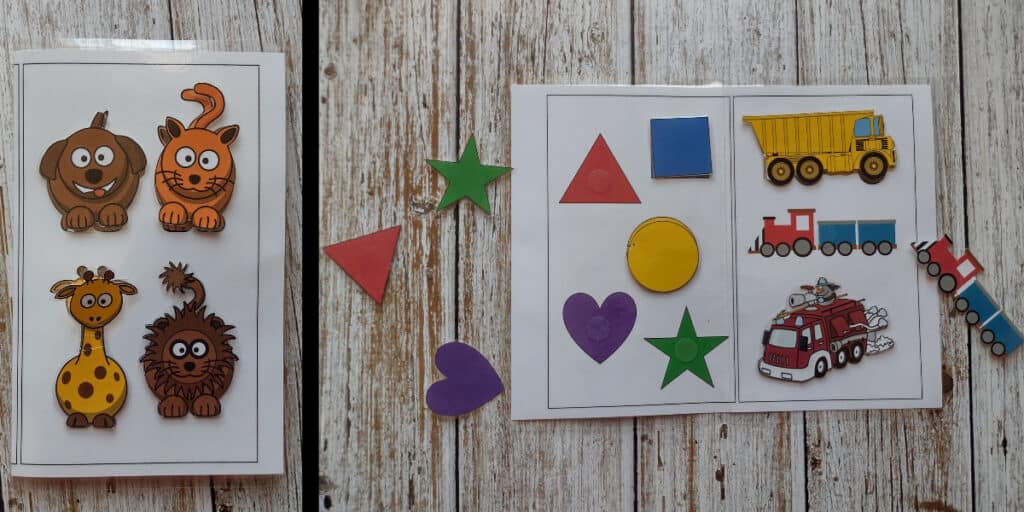
First, I found pictures on Clip Safari that I thought my son would like. I decided to make my son’s DIY busy book three pages long with animals, shapes, and vehicles. This kept it to one sheet of paper and left the back side of the cover blank. Here is the busy book printable I made if you don’t want to make your own.
Next, I printed out two copies on cardstock . The first copy I printed front and back to use as the book. After printing it, I folded it in half to help it fold better later on. The second copy I printed single sided to use as the pieces. I cut out all of the pieces around their outlines.
Then, I laminated the book and the pieces. When making crafts for my kids, I probably use my laminator the most often. So, I would recommend buying one (and then checking out these fun laminator crafts). But if you want to avoid buying a laminator, you can try using packing tape on the pieces and a clear page sleeve on the book.

Once I finished laminating, it was time to make my book. First, I folded the book in half. To help it fold, I creased the seam with my fingernail and left it folded under a heavy book for a while. Then, I cut out all the pieces again leaving an edge of lamination.

Lastly, I added Velcro dots to the book and the pieces. I put the clear side of the dots on the book side. Then, I put the white side of the Velcro dot on top of each one. After I removed the paper backing, I lined up the laminated pieces on their matching item and stuck them to the dot.

Conclusion of My Toddler’s DIY Busy Book
I can’t say that this DIY busy book suddenly made sitting still easy for my son. But, it has become one of his favorite activities and was really simple and quick to make. He occasionally puts pieces back on his book, but he mostly just takes them off. The book has held up really well and the pieces have held up OK. The wider pieces are fine, but the smaller pieces like the giraffe’s neck are getting beat up.
What page themes do you want to put in your child’s busy book?