Disclaimer: This page may contain affiliate links. As an Amazon Associate I earn from qualifying purchases. If you choose to make a purchase after clicking a link, I may receive a commission at no additional cost to you. Thank you for your support!
Are you strong enough to pull the sword from the stone and become the next king? While it wasn’t too hard to pull a foam sword from the paper mache stone I made for my son’s knight themed birthday party, it was still lots of fun. I was able to make this interactive sword in the stone decoration with a leftover cardboard box and some homemade paper mache paste. Plus, doing paper mache brought back so many fun childhood memories.
How to Paper Mache a Sword in the Stone Decoration
Materials:
- Cardboard Box
- X-ACTO knife
- Newspaper
- Flour
- Water
- Grey Paint (black paint and white paint optional)
- Foam Sword (or make your own sword)
Creating:
To start making my stone, I had to prep my cardboard box. I cut a hole in the top using an X-ACTO knife that was just a little bit bigger than my foam sword. It needed to be slightly bigger since the paper mache makes the hole smaller.


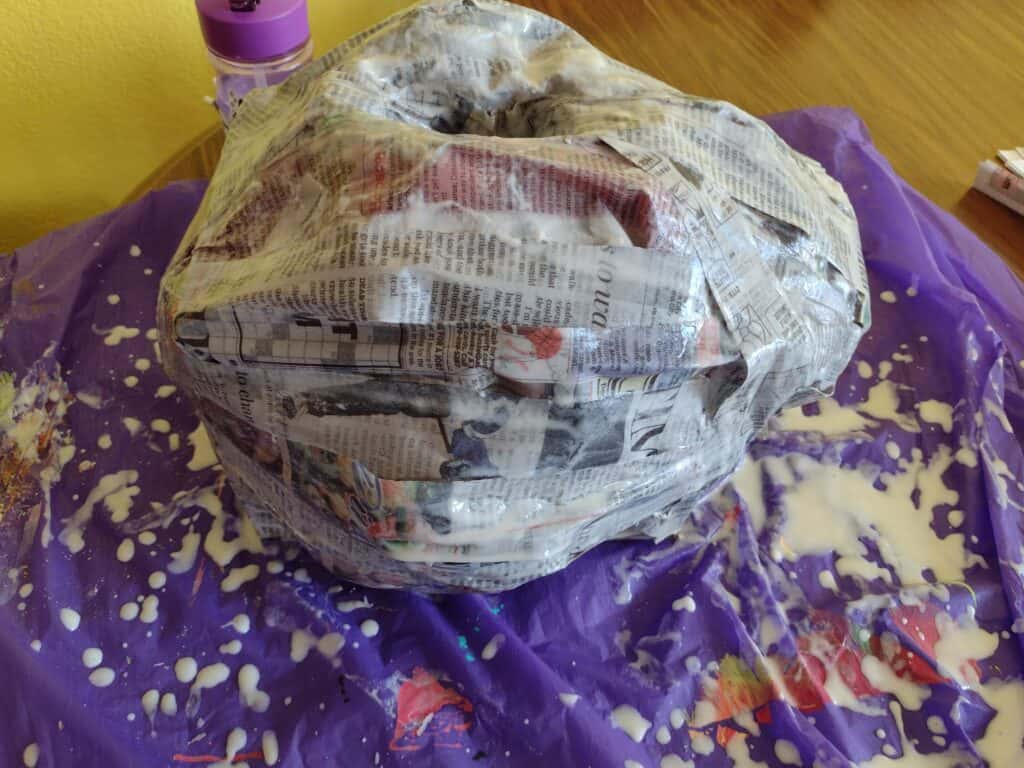
Once I had the hole the right size, I taped some chunks of newspaper to the sides of my box. I did this to help it look more like a stone and less like a box. I wish I had taped on more than I did, because I ended up doing a lot more layers of paper mache than I needed to in order to hide the corners.

Now came the fun part: paper mache! To start, I mixed one part flour to two parts water like I found in this paper mache recipe. Then, I cut a whole bunch of strips of newspaper. I found out on a later project that tearing instead of cutting hides the seams better.
Finally, I did my first layer of paper mache. And then another. And another. One more. Even more. And eventually I got rid of all the corners and liked how it looked. Between each layer, I let it dry completely in the sun. I tried to get my almost three year old daughter to help me, but she decided it was too messy after doing one strip.


After it was completely dry, I painted it. Although my daughter refused to help with the paper mache, she gladly helped paint. We did the whole first layer a medium grey. Then, while she was napping, I mixed some grey paint with a little white paint and some with a little black paint. I painted spots on the stone with the lighter and darker greys. This made it look a little more rock like. Lastly, I stuck the foam sword into the finished stone.

Conclusion of Paper Mache Sword in the Stone:
The sword in the stone made a perfect centerpiece to the dinner table for my son’s first birthday party. He was too young to play with it, but some older family members had a blast pulling it out. I guess my son won’t be king, just a knight in really cute armor that I made for his special day. I can’t wait until both my kids enjoy paper mache, but for now I will just continue doing it myself for their party decorations. Be on the lookout for another paper mache post soon. What is your favorite thing that you have made with paper mache?