
Disclaimer: This page may contain affiliate links. As an Amazon Associate I earn from qualifying purchases. If you choose to make a purchase after clicking a link, I may receive a commission at no additional cost to you. Thank you for your support!
I am very blessed that my two kids handle the car well. Where I grew up everything was 10 minutes away at most. The town I went to college was the same way. After graduating and getting married, I moved to the Denver area and thought with it being bigger everything would be closer. Instead there is so much of everything everywhere that it seems like everything is 20+ minutes away. This means we are in the car a lot. So once again, I am very blessed my kids do well in the car. They mostly do this on their own, but I made my 2 1/2 year old daughter this lovey bed for the car to help keep her entertained.
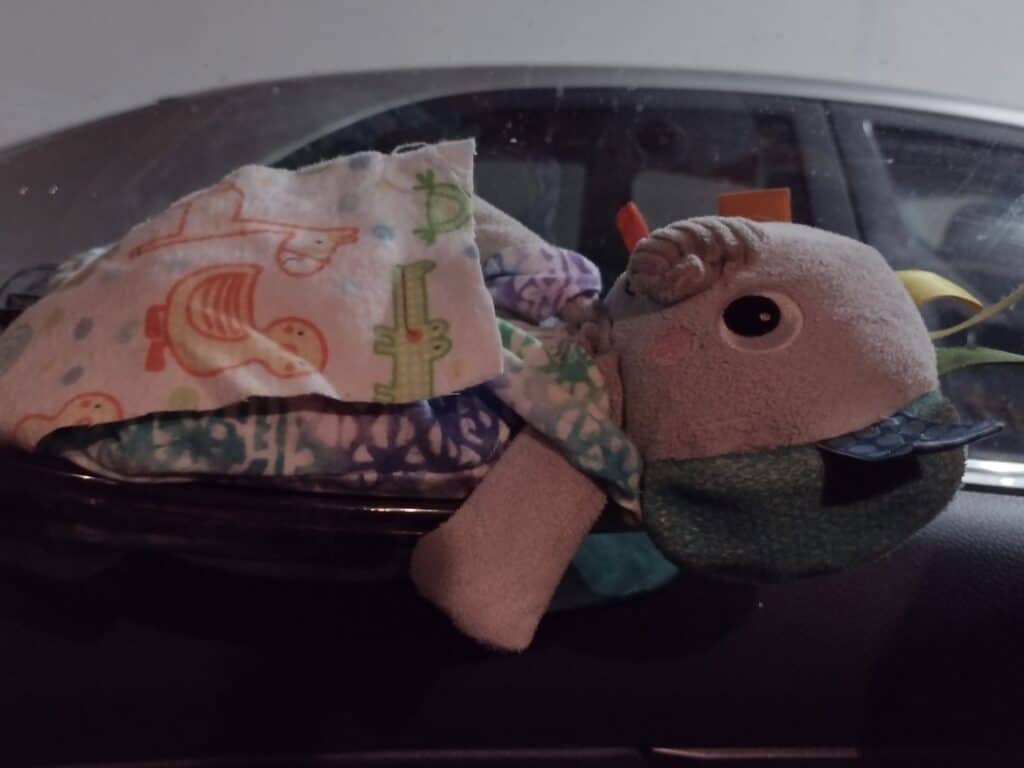
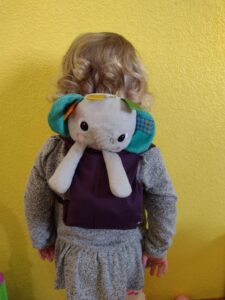
If you have spent much time on this blog, I’m sure you can guess who keeps my 2 1/2 year old daughter company in the car. Lumpy, my daughter’s stuffed elephant lovey, travels pretty much everywhere with us. And of course Lumpy, being the spoiled elephant that she is, needs to travel first class. She gets to take naps in her very own bed suction cupped to the car door window. This keeps her in arm’s reach of my toddler.
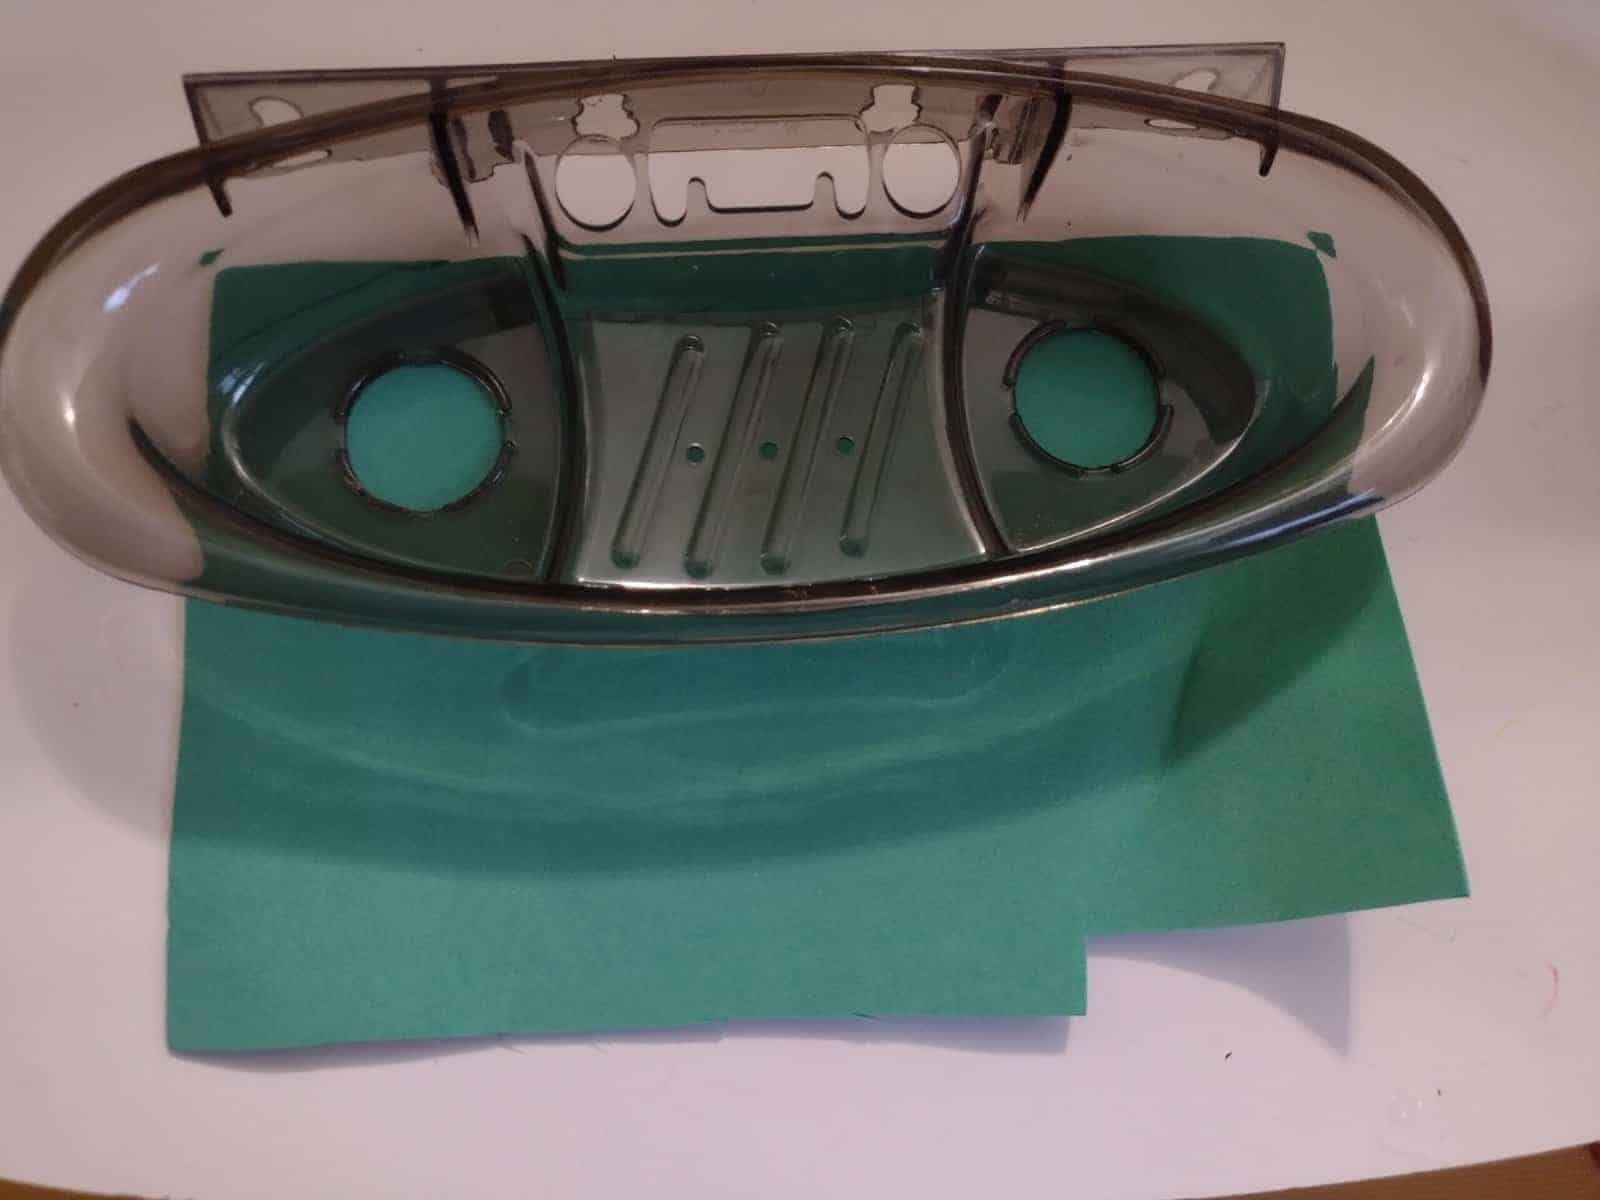
The base of Lumpy’s first class bed is a $1.25 shower caddy from the Dollar Tree. I made version 1 for a road trip we went on earlier this summer. It was just the caddy with a pillow. The pillow now lives at some gas station between Colorado and Indiana. This week I made version 2. It covers the holes and has an attached blanket so nothing gets lost. Below are instructions on making the improved version as well as ideas on how to make it fit your own needs.
How to Make a Lovey Bed for the Car
Supplies:
- Suction cup shower caddy
- Hot glue gun (optional)
- Foam sheets (optional)
- Cloth (optional)
Variations:
One of the great things about this lovey bed is that it can be as simple or complex as you want.
- Do you want super simple? Take the shower caddy, stick it to your car window, and call it done.
- Want to cover the holes and attach a blanket like I did? Keep reading.
- Is your child’s lovey even more spoiled than Lumpy? Use popsicle sticks to make it a canopy bed.
- Does your child have two special friends? Get two shower caddies and make a bunk bed.
- Is your child more into small dolls than a big lovey? Buy a suction cup soap dish and use that instead.
Creating:
To begin, take the caddy and place it on the foam sheet you want to use. Trace around the caddy and cut out the foam. Then place your cut piece inside the caddy and make any needed adjustments to the size.


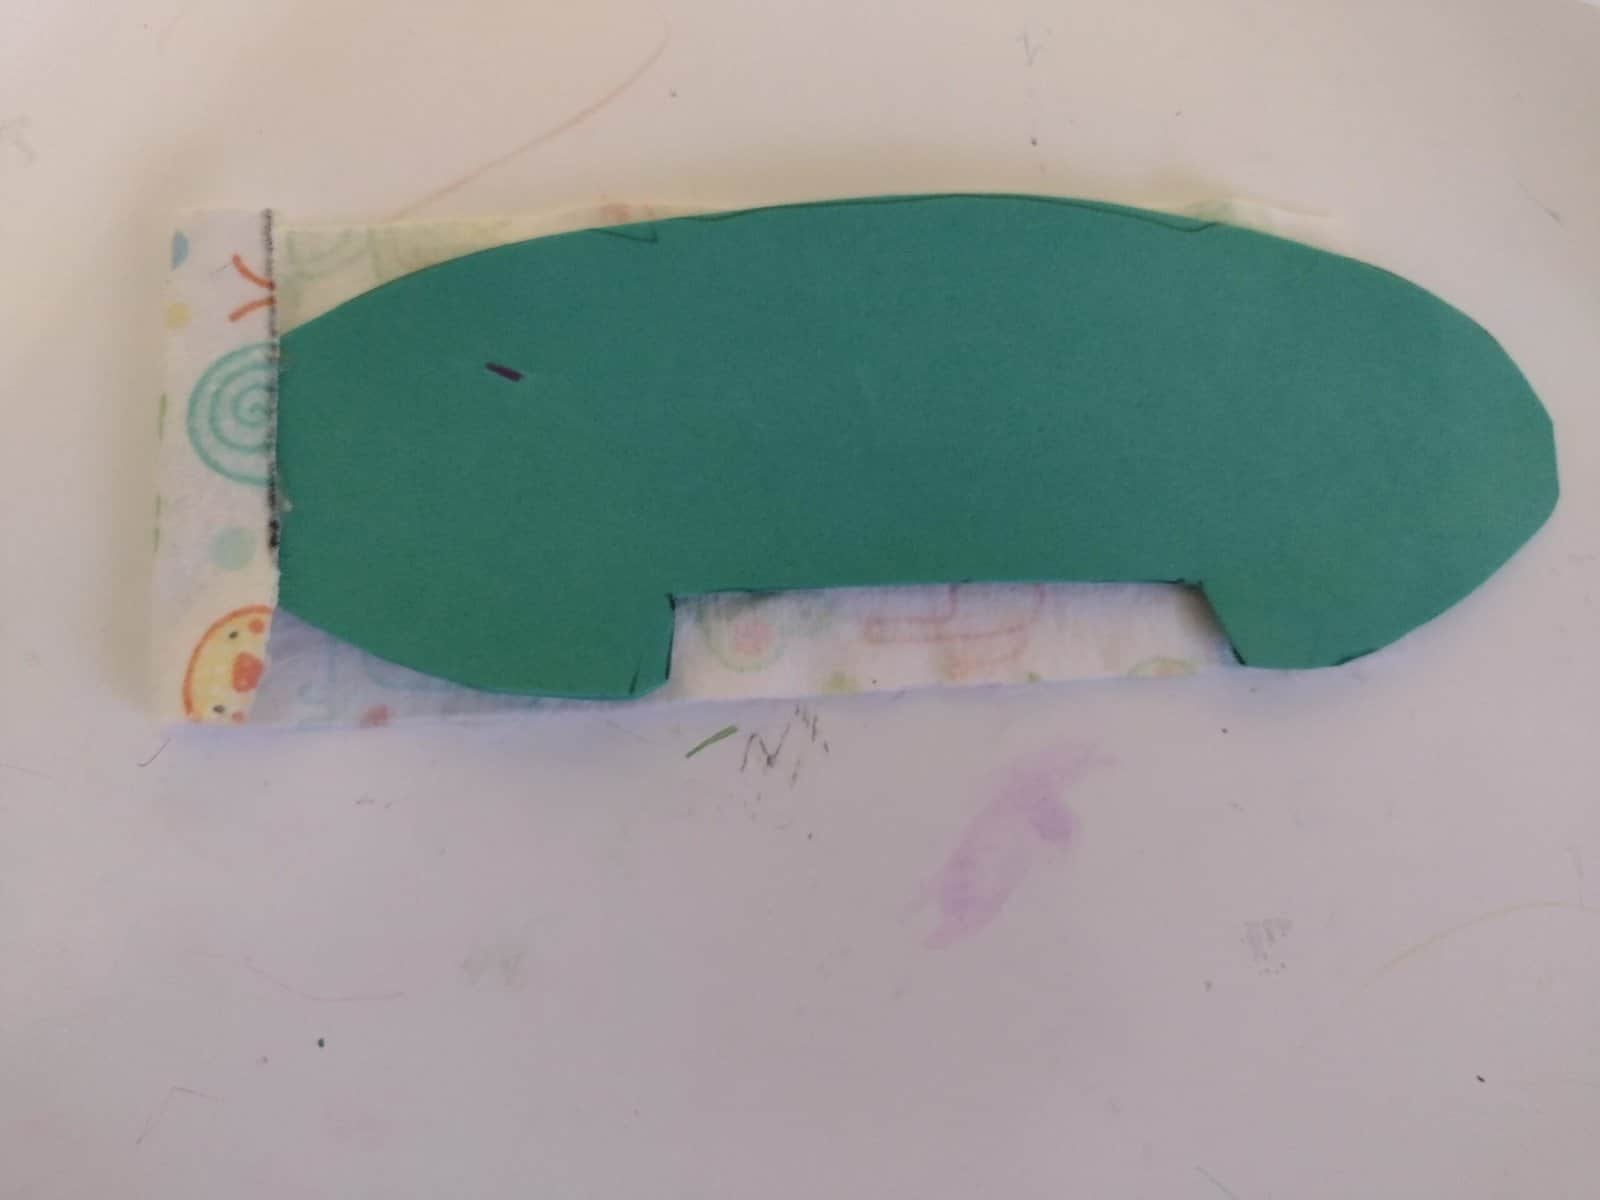
Next, make your blanket. You can cut it out from a piece of fabric (here are ways to get fabric cheap or free) or use a washcloth.

Now it’s time to glue it all together. Using a hot glue gun, glue a small edge of the blanket onto the bottom of your foam. Then glue the foam to the caddy.


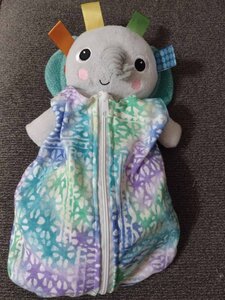
Finally, stick it on the car window where your toddler can reach it. While she napped in her improved car bed, Lumpy also got to wear the sleep sack I made her.

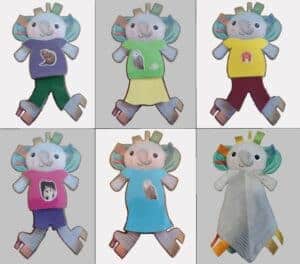
My daughter was so excited about this bed for Lumpy. If your toddler is just as obsessed with their lovey check out this sleep sack, paper doll, and backpack also made with Lumpy in mind.
I hope this helps keep your kid entertained in the car whether it’s for a errands around town or a cross-country road trip. What kind of lovey bed for the car did you make your toddler? Let me know in the comments.
What an awesome idea!!
Thanks!
Such a fun post. Will share it with the parents I know.
Thanks, and thanks for passing it along
What a cute and creative idea! My daughter loves her stuffed animals and she would love it if we made a little lovey bed for the car!
Thanks! Let me know if you give it a try
that’s a great idea! Thanks for sharing!
Thanks!
How lovely 🙂 Really like the idea!
Thank you!
aww this is such a cute idea!
Thanks!