

Disclaimer: This page may contain affiliate links. As an Amazon Associate I earn from qualifying purchases. If you choose to make a purchase after clicking a link, I may receive a commission at no additional cost to you. Thank you for your support!
You can make this really cool looking stained glass window craft out of cardboard and metallic foil paper. How easy is that? I used them, along with tissue paper torches, to decorate for my son’s medieval themed first birthday party. They are a great decoration for any sort of medieval themed party, VBS, or get together.
How to Make a Stained Glass Window Craft
Materials:
- Cardboard
- X-ACTO knife
- Black Paint
- Metallic Foil Paper
Creating:
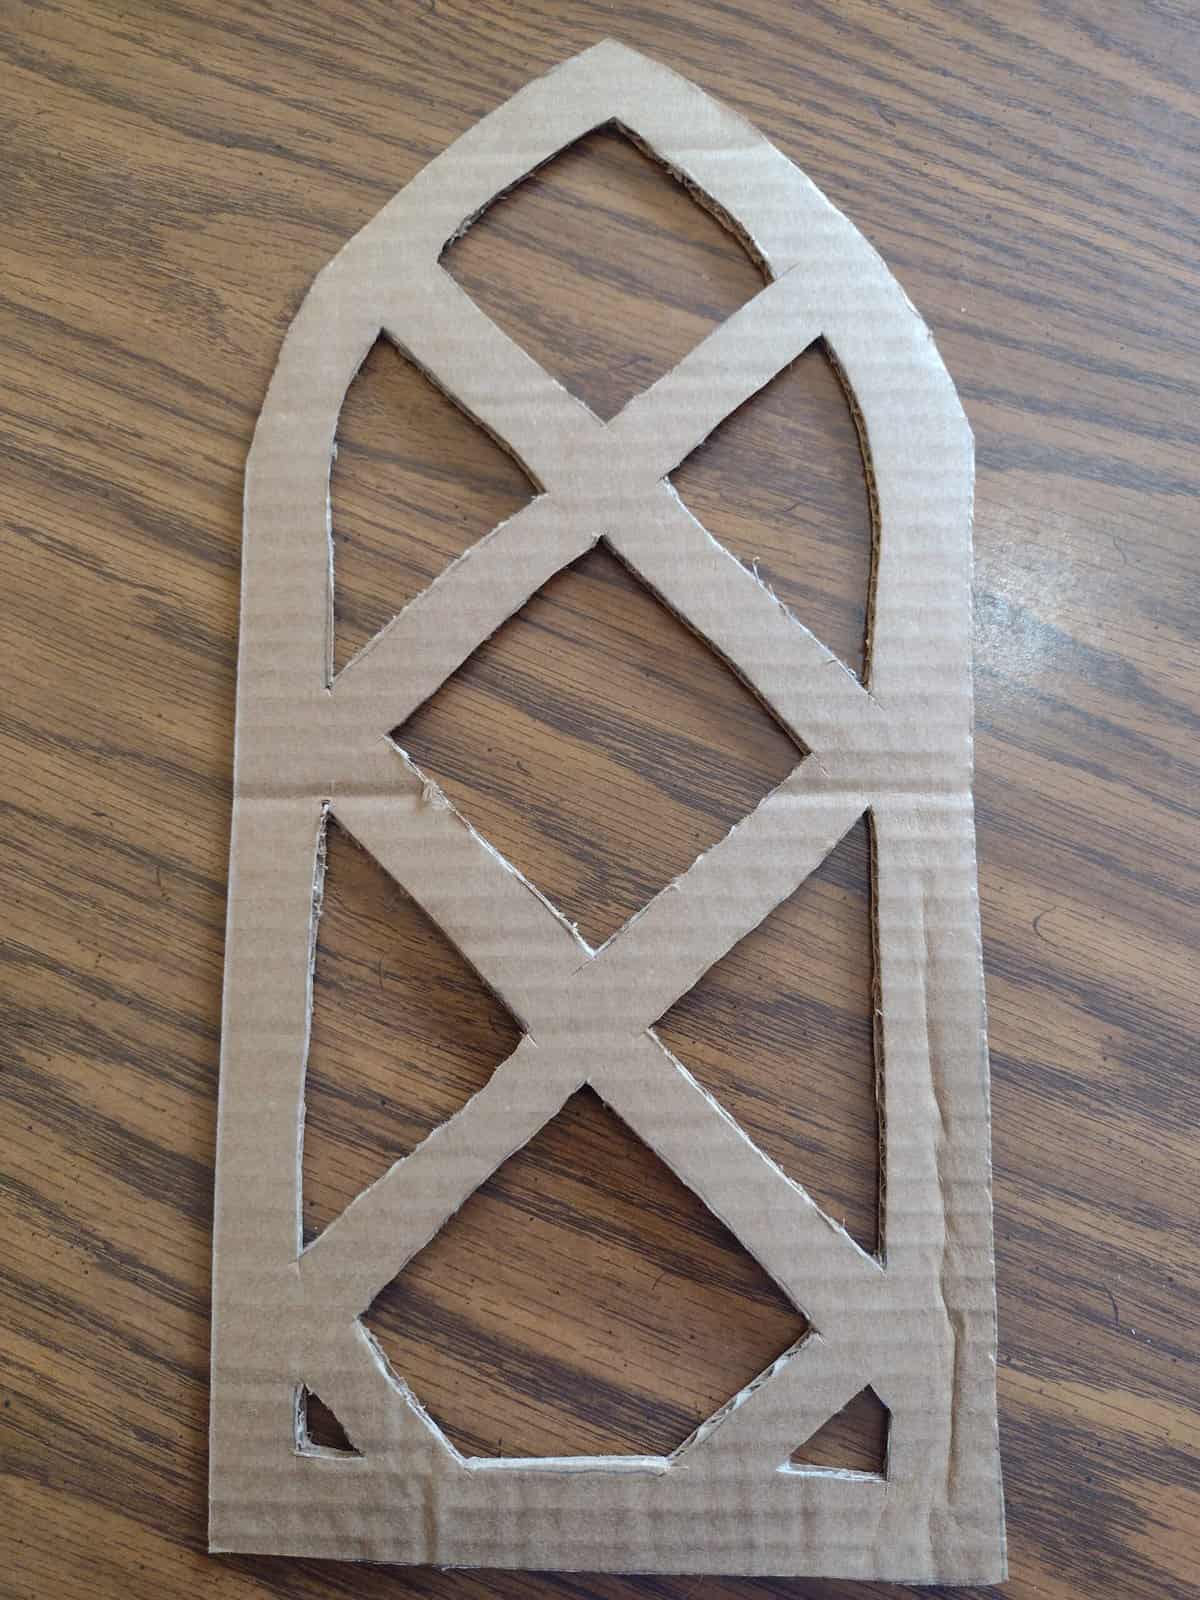
To start, you need some cardboard rectangles. I cut the flaps off of my most recent packages to get even width pieces. Then, I drew a window shape on the first piece and cut it out. After I had my outer shape, I drew squares in it at even intervals. Lastly, I drew an even width border around the whole window.

Next, I took an X-ACTO knife and cut out all the squares that were not in my outer border. Make sure you are using a sharp new blade, or it will be really hard to cut through the cardboard. I just used a spare piece of cardboard to cut on, but a self healing mat would work even better. Once I had the first window cut out, I used it as the pattern to trace the design onto the remaining pieces of cardboard.
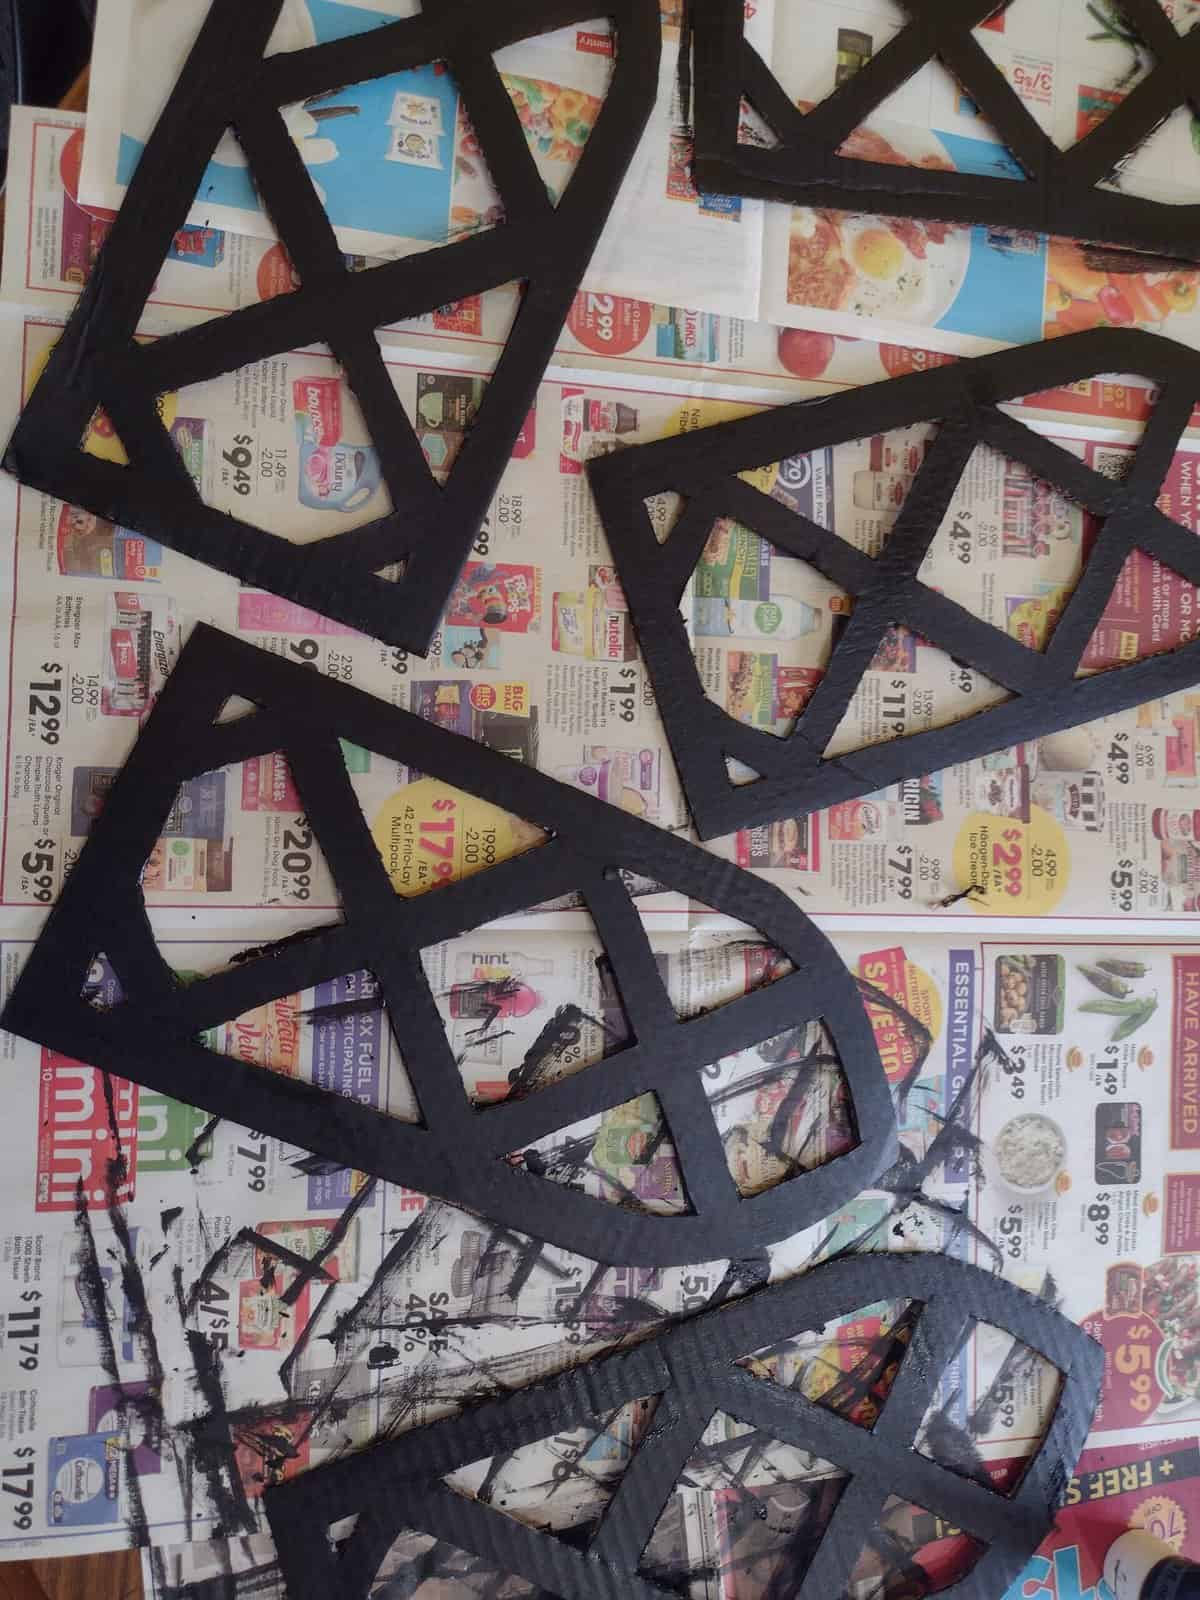
Then, I used black paint to make my windows look less like cardboard.
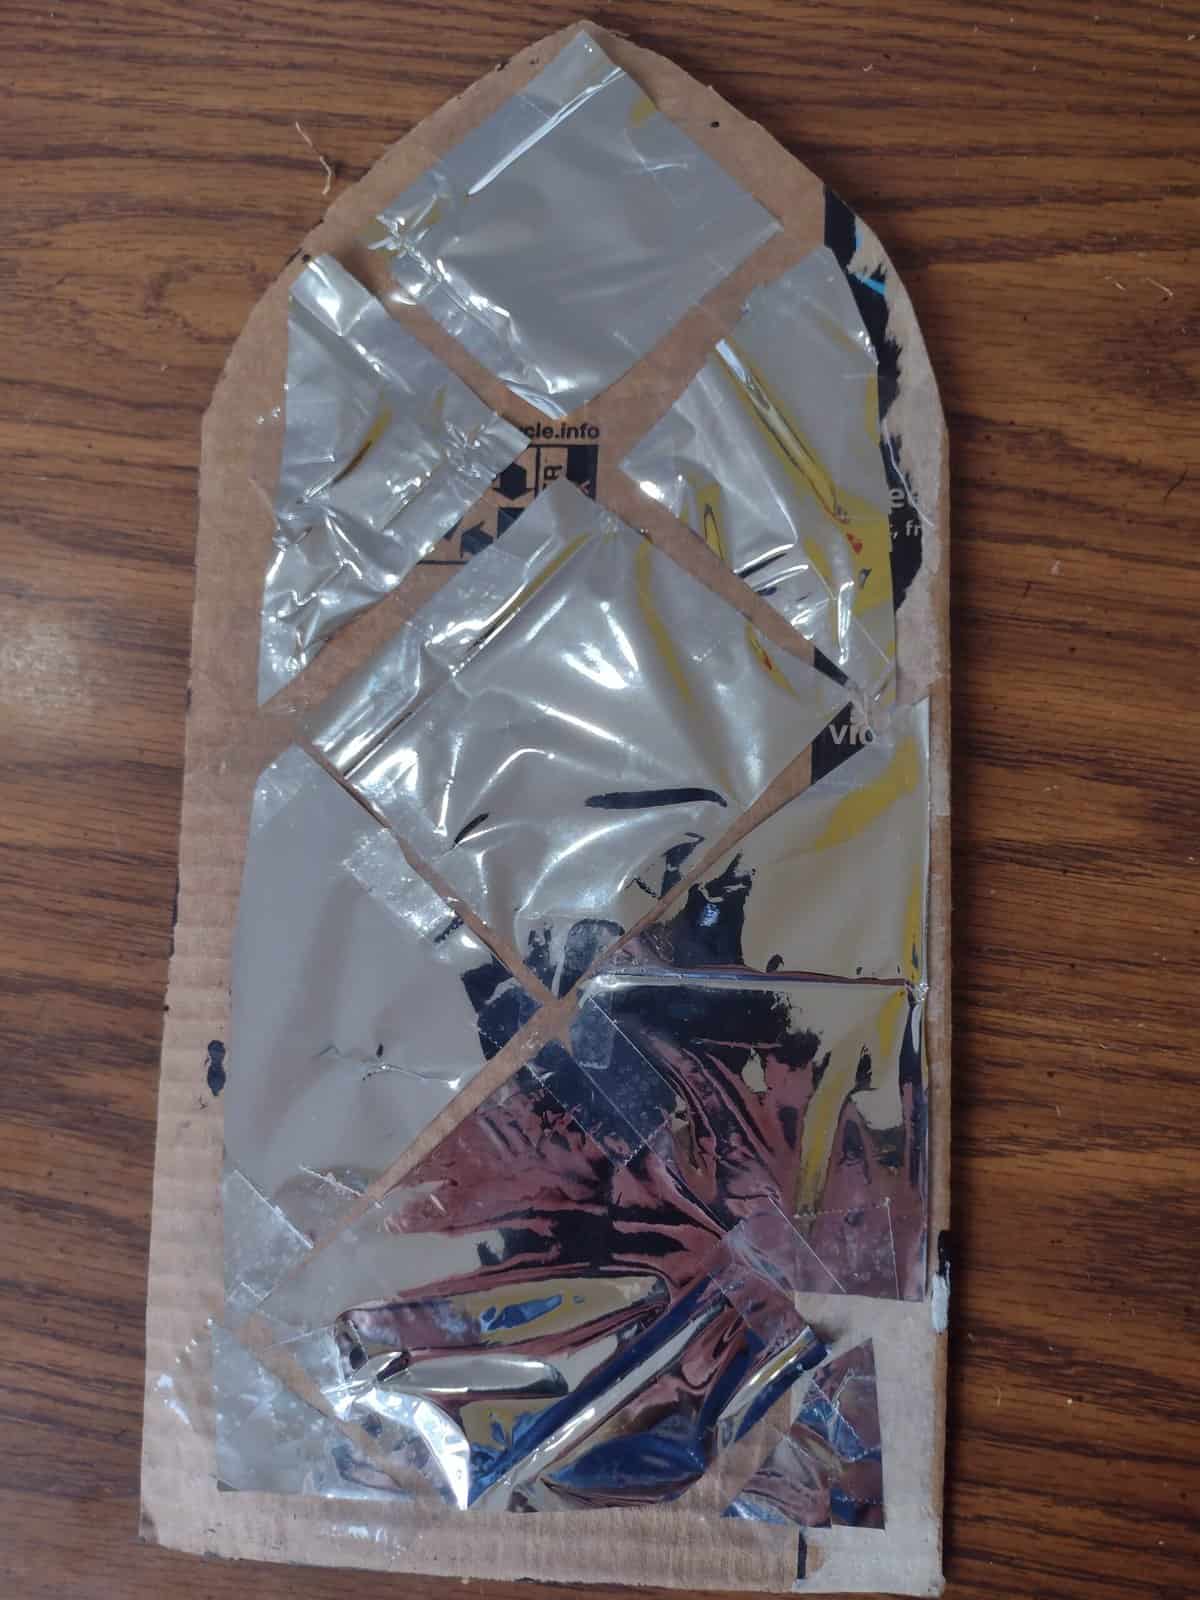
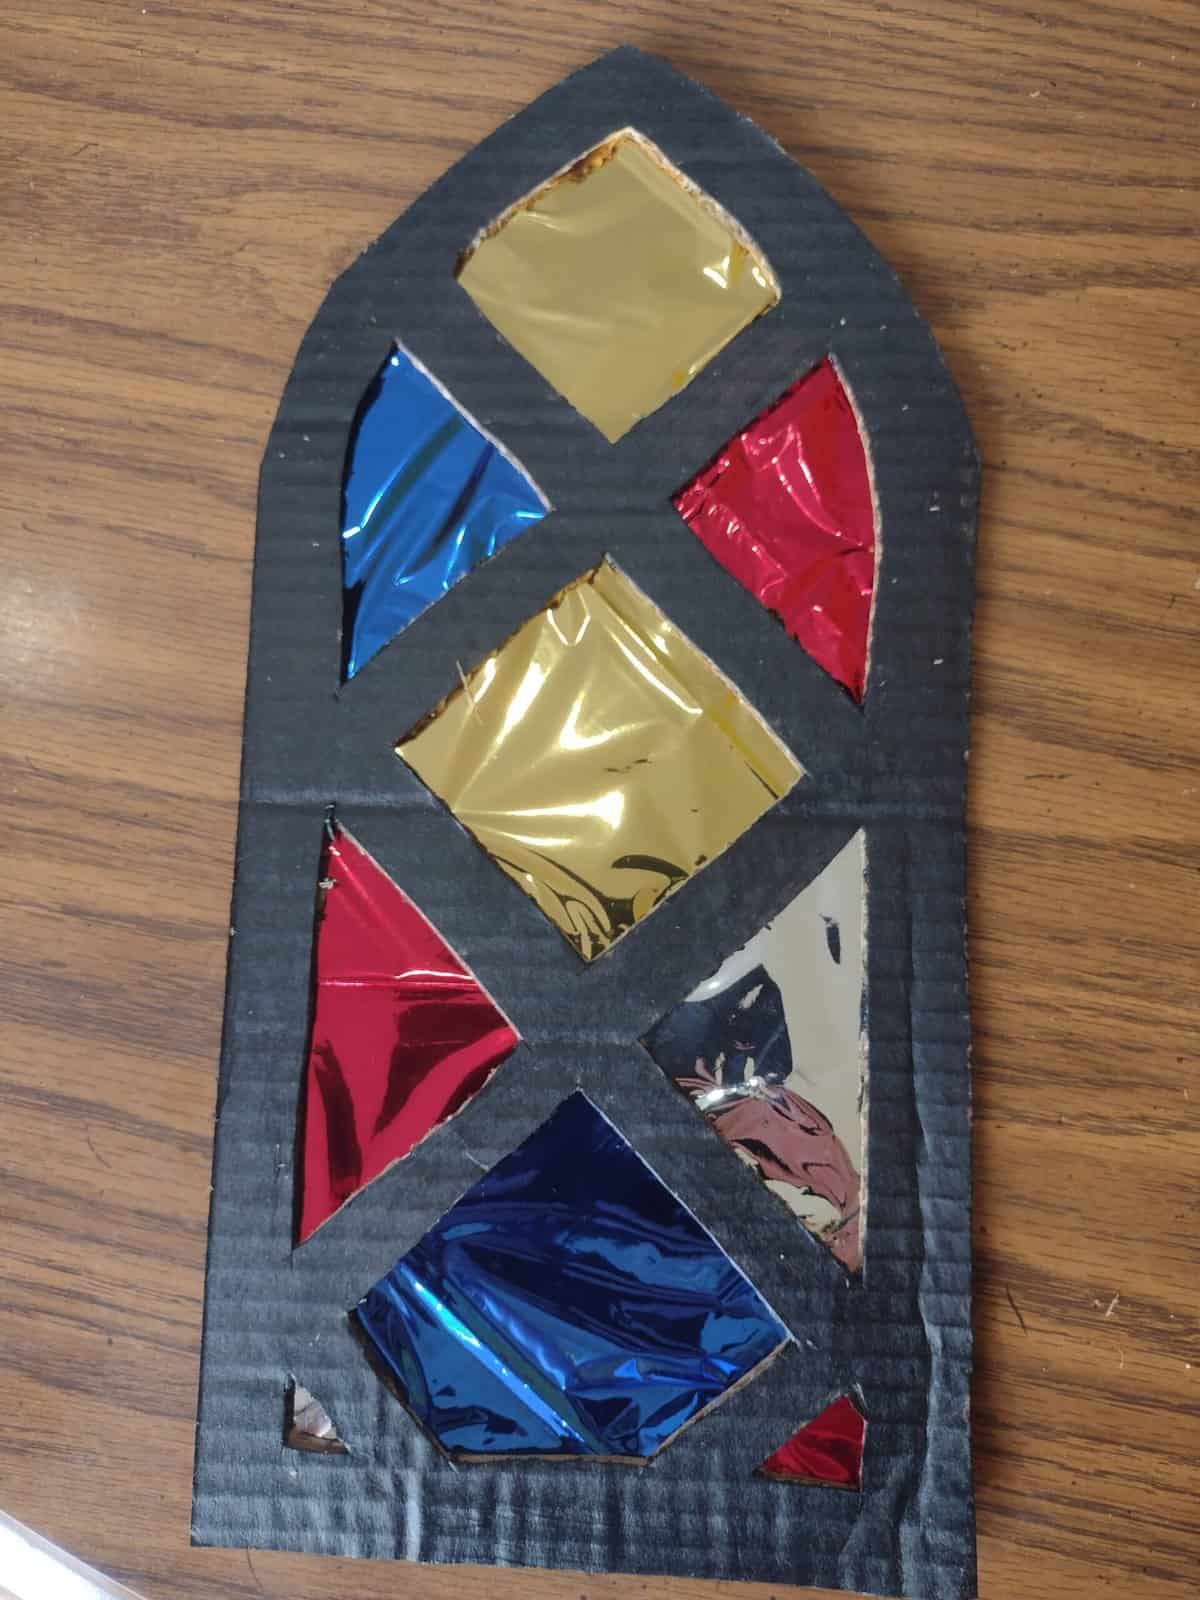
Now it was time to make the actual stained glass effect. Using several different colors of metallic foil paper, I cut out shapes that were slightly larger than the holes in my cardboard. Then, I taped each piece to the back of the windows. I made sure that no two pieces of the same color touched. Finally, I used sticky tack to stick my finished stained glass window craft to the wall.
Conclusion of Stained Glass Window Craft
I love the burst of color that these stained glass windows added to my medieval decorations. They were easy to make and the metallic foil paper was the only thing I didn’t already have on hand which was super nice. My husband thought they made our kitchen look like a medieval cathedral instead of a castle, what do you think?


How about the chapel in the castle? 😁