
Disclaimer: This page may contain affiliate links. As an Amazon Associate I earn from qualifying purchases. If you choose to make a purchase after clicking a link, I may receive a commission at no additional cost to you. Thank you for your support!
Several months before my son turned one, I saw a tutorial on how to make a toilet paper roll dragon. When you blew on the other end, it made streamers move like fire. I immediately thought it would be fun to make a giant version of it and throw my son a knight and dragon themed first birthday party. The first decoration I made for it was this giant fire breathing dragon craft.
While, the inspiration was simple, I ended up making quite a few tweaks. I will walk you through what I did and some of the problems I ran into so you can make one for your own party, VBS, or get together.
How to Make a Giant Fire Breathing Dragon
Supplies:
- Green poster board
- Packing tape
- Popsicle sticks (maybe not necessary)
- Cardboard tube (from wrapping paper, paper towels, etc.)
- Red, orange, yellow, and green streamers
- Fan
- Green pom poms
- Aluminum foil
- White tissue paper
- White glue
- White cardstock
- Green cardstock
Creating the Head:
To start, I took two pieces of green poster board and taped them together at an angle using packing tape. By taping them at an angle, I created a mouth. I made sure I used the same angle on both sides to make it not lopsided. I then cut the four mouth corners to be more rounded. After cutting the first one, I used the scrap as my pattern to cut the other three.
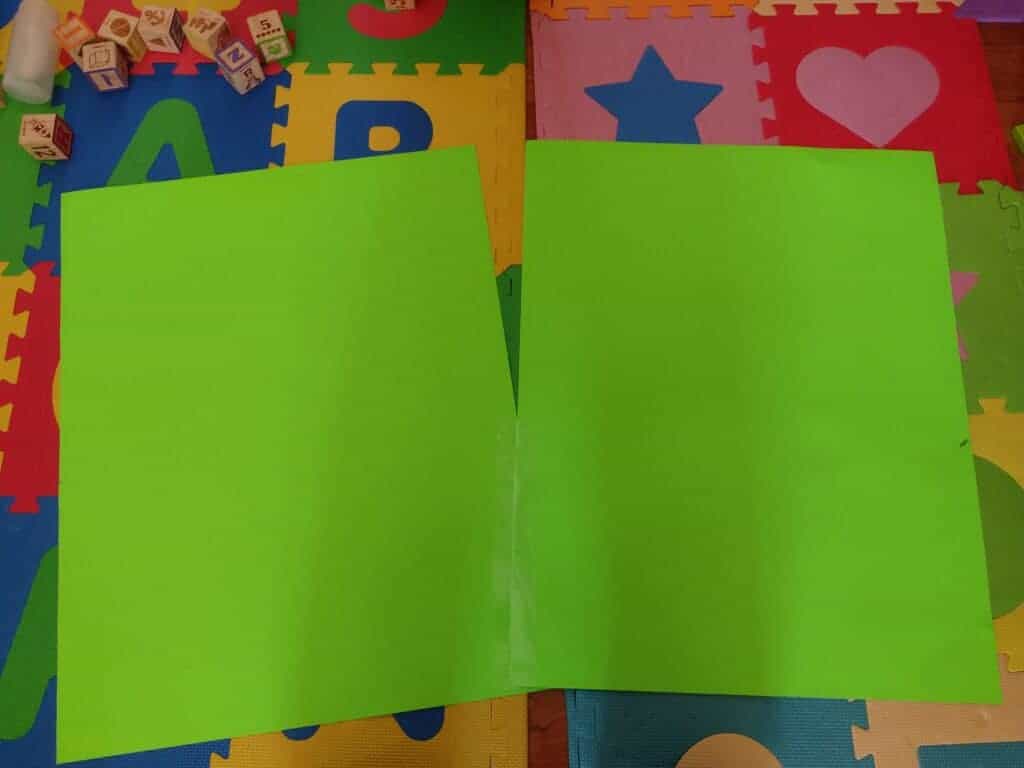
After doing this, I realized my first problem. The poster board was not thick enough to stand up on its own. First, I tried to fix it by taping thick popsicle sticks on the side of both jaws. They helped a little bit, but it was still pretty saggy. Next, I added a wrapping paper tube that I cut to the right length. I pushed it to the back and taped it in place. It wasn’t pretty but I knew that the “fire” would cover it up later. Since I tried the popsicle sticks first, I’m not sure if they were necessary or if just the tube would have been enough.

Creating the Fire:
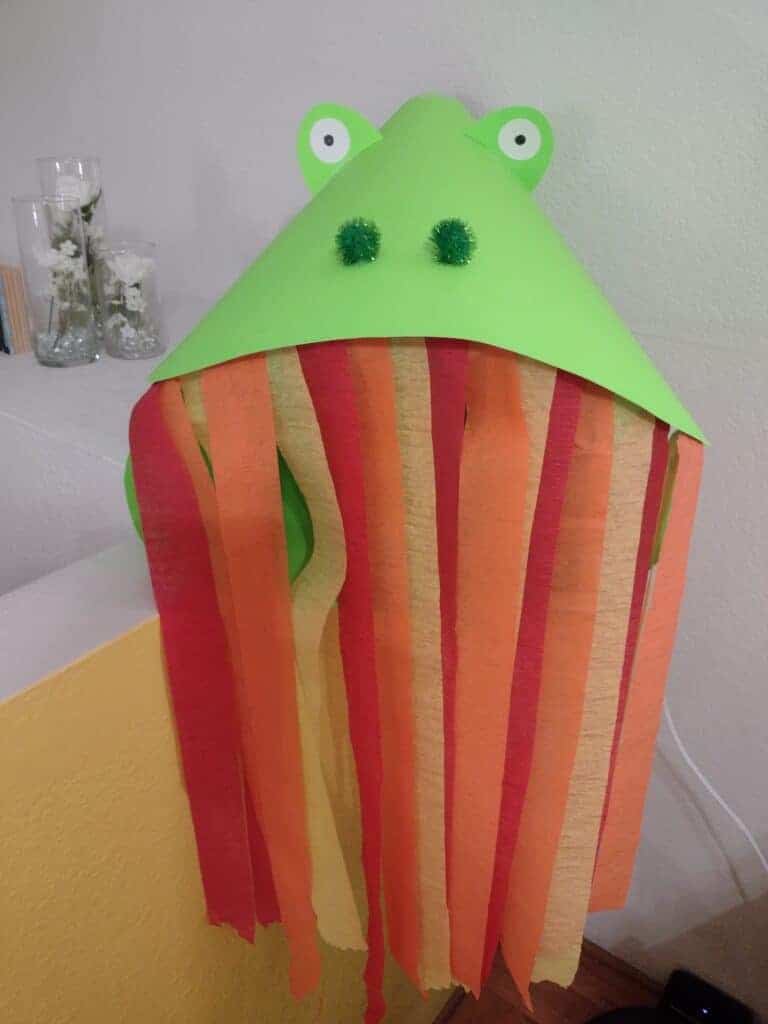
Before I worked on the face of my dragon, I wanted to make sure my fire breathing effect would work. I alternated taping red, orange, and yellow streamers to the top of my dragon’s mouth. I taped each one so that it overlapped over approximately half of the previous one. Once I taped them all, I cut the ends to be all the same length (I took the below picture before doing this).
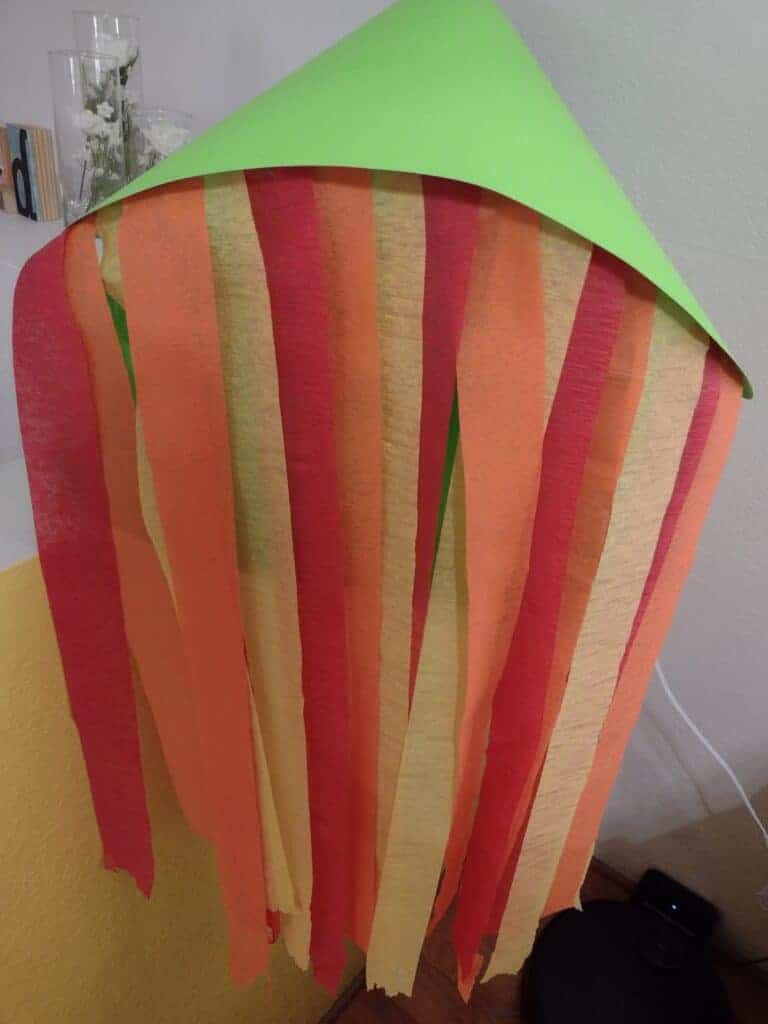
Then it was time to test it out. I placed a small (and quiet) fan behind the dragon and turned it on. It did blow the streamers around. It seemed to blow them around enough to get the fire breathing effect, but they still hung down enough to cover up the cardboard tube I had placed inside.
Creating the Face:
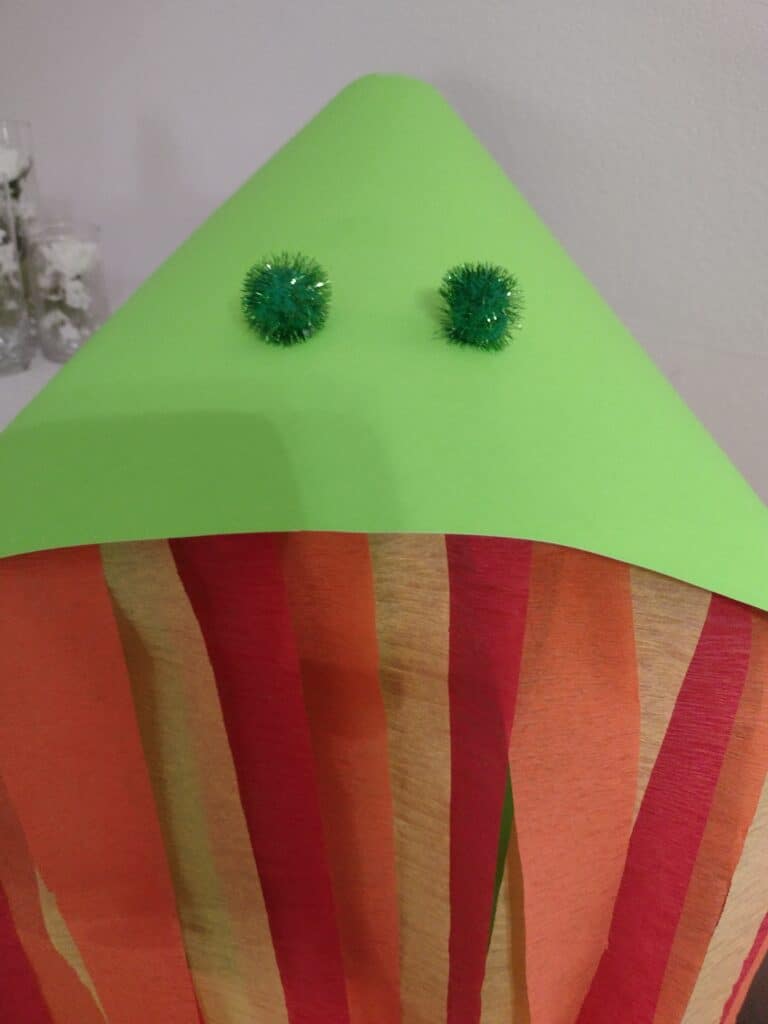
The first thing I added was pom pom nostrils. I glued on two sparkly dark green pom poms towards the front of the face.
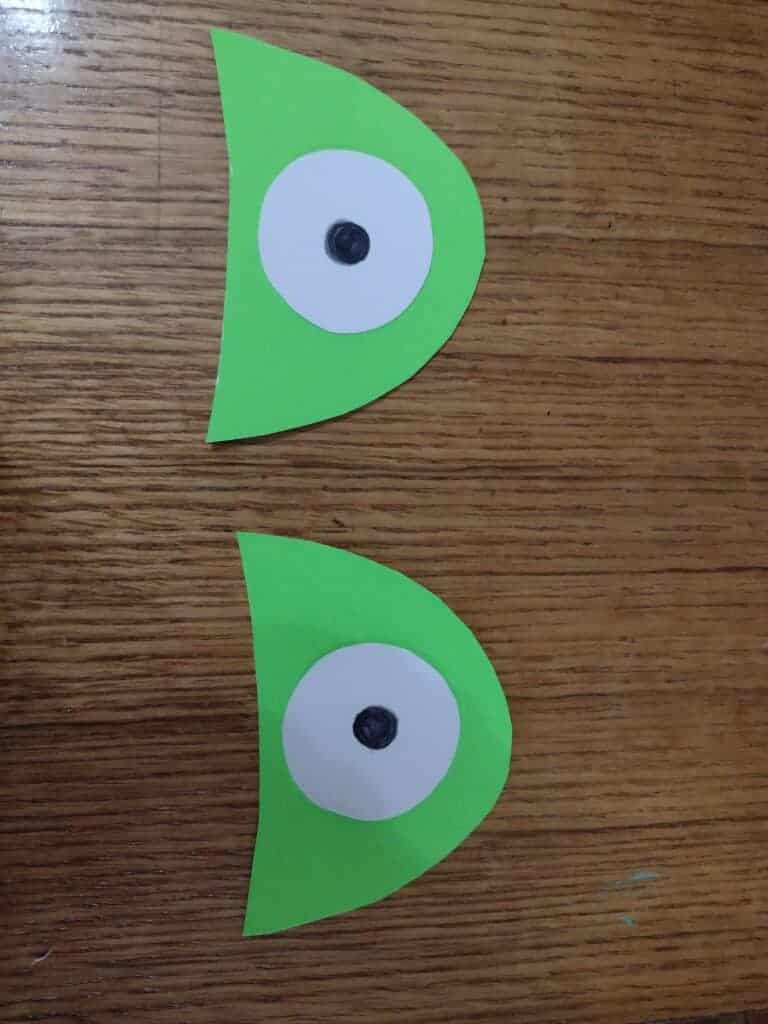
Next, I made eyes for my dragon. Using the poster board scraps from before, I cut out eyelids. I made them half circles with a slight curve on the bottom. Then I used normal white paper to cut out two circles. I glued one on each eyelid and drew black circles to complete the eyes. After taping the eyes on, I had to laugh. It looked like a frog and not at all like a dragon.
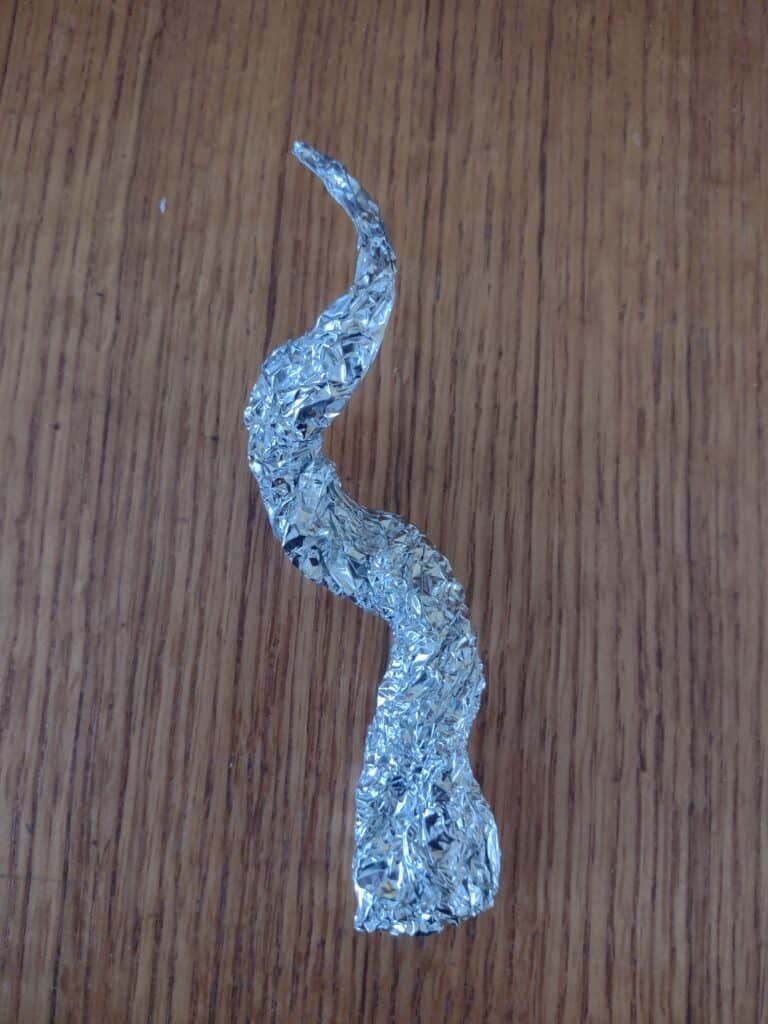
Since I didn’t want a fire breathing frog party, I added several more dragon features. I guess I was so distracted trying to save my dragon craft that I mostly stopped taking pictures at this point. To make curved dragon horns, I rolled aluminum foil into a cone shape and then twisted it. I then took a strip of white tissue paper, wrapped it around the foil, and spread white glue all over it. The horns were heavy enough that I had to hot glue them onto the dragon’s head.
Next, I added some teeth. I cut several different size triangles out of white cardstock and taped them to both the top and the bottom of the mouth. I made sure that I cut two of every size so that I could keep both sides of the mouth symmetric. Then, I cut out some ears out of green cardstock and taped them behind the eyes. The very last thing I did was tape a piece of green streamer on the top of the head to look like spines. Thankfully, I now had a more dragon-esque decoration.

Outcome of my DIY Fire Breathing Dragon Decoration:
Once I finally got it to look like a dragon instead of a frog, I think my fire breathing dragon craft really turned out. It was definitely much more complicated than the initial toilet paper tube dragon I based it off of, but it worked really well as a decoration for my son’s one year old knight and dragon party. If you like this idea, make sure you check out some of the other decorations and food from his party.