Disclaimer: This page may contain affiliate links. As an Amazon Associate I earn from qualifying purchases. If you choose to make a purchase after clicking a link, I may receive a commission at no additional cost to you. Thank you for your support!
Stickers have always been a favorite for my three year old daughter. We have used them as car trip entertainment, potty training motivation, and just plain fun. When coming up with favors for her under the sea birthday party, I wanted to give things that would actually get used. Since stickers are so loved in my house, I figured they would work perfectly. The kids could decorate sea creature stickers as an activity and then bring them home as a favor. I learned how to make DIY stickers here, but they didn’t work quite how I wanted.
They designed their stickers first and then added the sticky to the back. I wanted to do the opposite, so the kids could take them home right away. I also wanted to make my life as easy as possible and not have to paint glue on the back of a million stickers. With some experimentation and a few tweaks, I was able to get them to work just how I wanted. Here is how I did it:
How to Make DIY Stickers
Materials:
- Paper
- Unflavored gelatin
- Water
- Sugar
- Paintbrush
- Markers (Optional)
- Crayons (Optional)
- Sticker Gems (Optional)
- Googly eyes (optional)
Creating the Stickers:
To start, I printed out several pages of small sea creature pictures on normal printer paper. I got the images from Clipart Library and combined them into one big document. I specifically choose all outline pictures, so the kids could still color and decorate them.
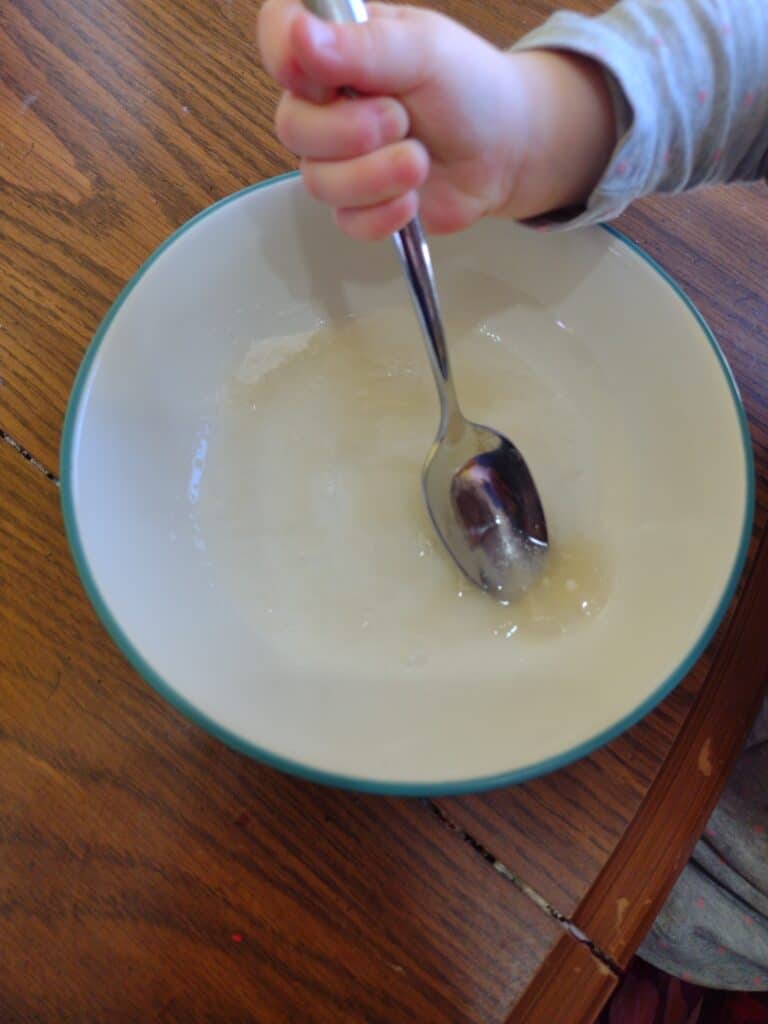
Next, my daughter and I made the glue. I followed family education’s instructions to mix it up. It was very simple and just used unflavored gelatin, water, and sugar to make. I loved making this myself and knowing exactly what I was giving the kids to lick.


Next, we used a paintbrush to paint the glue on the back of all my printed sheets of paper. I gave my daughter the biggest paintbrush and she painted the middle and then I took a smaller paintbrush and did all the edges. Next, I found all the flat surfaces that are out of reach of my kids and placed the sheets there to dry.


Once the papers were dry, I cut out all the animal pictures. This was the most time consuming part. But, it was better than cutting them all out and then brushing glue on each one individually. Then, I placed them all under the heaviest books I could find to flatten them out. I’m sure I could have made them even more flat, but I had lots of other things to work on and figured the kids wouldn’t care.


Sticker Party Activity:
The stickers I made were plain and boring. I did this on purpose to make decorating the stickers into an activity for my daughter’s party. For the party, I placed the stickers into a box with decorating supplies. I used markers, crayons, sticker gems, and googly eyes. Also, to give the kids somewhere to put their finished stickers, I put in bags with a cute sticker label on them. I taped instructions on the box as well.


Conclusion of How to Make DIY Stickers:
Not all of the kids wanted to decorate stickers. That was ok, because I had other fun activities like a seashell sandbox hunt. The kids that wanted to make stickers, made several and seemed to really enjoy it. My daughter definitely liked them and made quite a few. As long as you lick the entire back and only place it once, these sticker stick well. What kind of stickers would you make?
Very cool! I’ve never heard of homemade “sticker glue” before.
Neither had I. It worked a lot better than I expected