
Disclaimer: This page may contain affiliate links. As an Amazon Associate I earn from qualifying purchases. If you choose to make a purchase after clicking a link, I may receive a commission at no additional cost to you. Thank you for your support!
OOPS! I think I got my toddler addicted to making crafts. Several times a day she asks for another thing, which is her way of saying she wants to make a craft. The other day, after just making bubble wrap octopuses, she started asking to make another thing. I asked her what she wanted to make and she told me she wanted a bath toy. So, I came up with this toy fishing net using what I had lying around the house.
Making this toy fishing net required a lot of hot gluing, so my 2 1/2 year old didn’t get to help with the actual making. Instead, she watched and picked things out along the way. And yes, she immediately started asking for “another thing” once I finished.
How to Make a Toy Fishing Net
Supplies:
- Foam sheets
- Hot glue gun
- Clementine bag or other netting (I was going to post a link to netting, but unless you are mass producing these you are better off just buying a bag of clementines)
Setup:
Since this was a spur of the moment craft, I had to find something that would work for the net from around the house. I noticed a bag of clementines on our kitchen counter and realized its bag would work perfect. I cut around the label to get as big of a piece as possible.
Then, I cut out two long strips of foam for the net’s rim. My daughter wanted me to use brown foam. I didn’t cut out my handle at this point since I couldn’t picture exactly how it was going to turn out.

Creating:
Glue, glue, glue! That is pretty much all that I had left to do. I wanted my net to be evenly distributed around the rim, so I was very careful about how I glued. If my below description is confusing follow the pictures instead.
I started by hot gluing opposite sides of the net to each end of the first foam strip. Then, I glued the middle of one side of the net to the middle of that same foam strip.


Next, I glued all the way down the middle of the strip and pressed the netting down as evenly as I could. To avoid getting burned, I pressed down on the net on either side of the glue. Lastly, I glued and folded the strip in half.


Then I repeated with the other side of the net and the other foam piece.


Once I finished both sides, I glued the strips together making the outer rim into a cohesive circle.

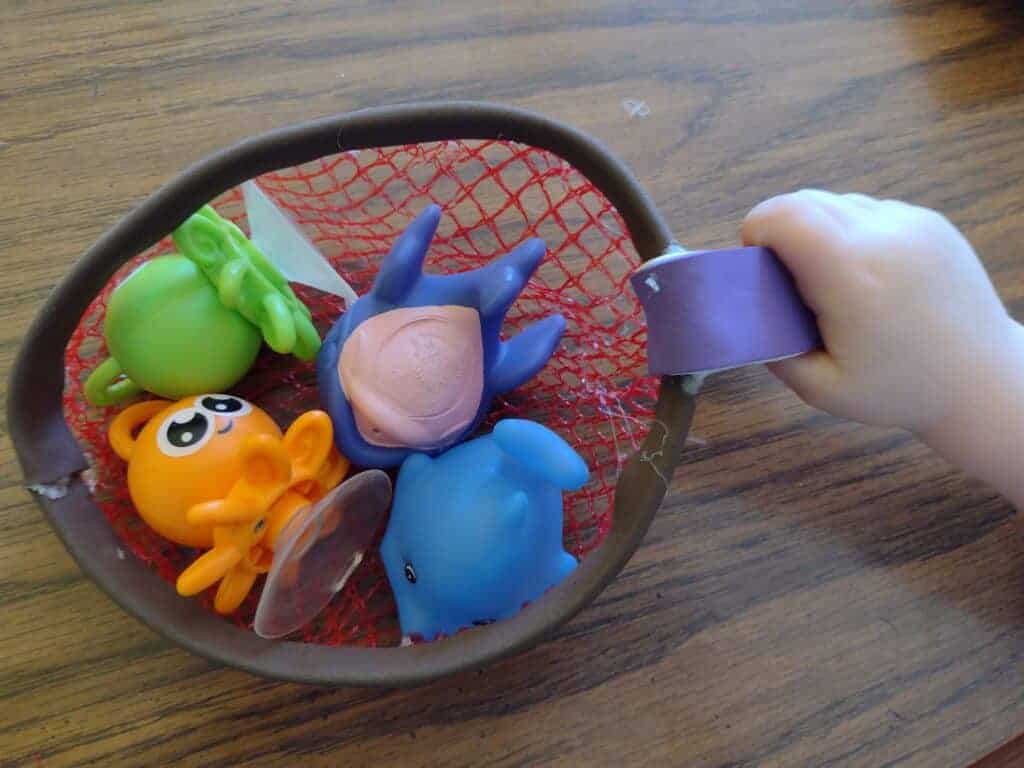
Now that I knew what the net looked like, I cut out my handle. I glued together two pieces of foam to give the handle a little more support. After much debate, my daughter wanted me to make it purple and white. To finish, I glued my handle piece onto the rim.


Conclusion:
My toy fishing net turned out a little floppy, but it still works great! That night, my daughter tried it out in the bath and caught lots of her favorite bath toys. With bath time being such an important time, I am super glad my daughter pushed me to make this craft. Would this net work to catch your child’s favorite bath toys?


Wow what a great idea! This is a great way to recycle, I’ll have to make one for my little guy!
Thanks! Let me know how it goes