Disclaimer: This page may contain affiliate links. As an Amazon Associate I earn from qualifying purchases. If you choose to make a purchase after clicking a link, I may receive a commission at no additional cost to you. Thank you for your support!
Most of the crafts on this blog fit my kid’s current interests and ages. I would rather keep them in the center of my blogging journey instead of trying to cover a wide range of ages. Because of this you will see my crafts slowly “growing up” alongside my kids. While most of my crafts center around my kids, I also teach Bible class. I normally teach older kids, but occasionally I sub for the younger kid class. This Naaman craft for preschoolers and toddlers was something I made last minute for a Wednesday night 1- 4 year old Bible class.
With the wide age range of kids, we normally do a lot of singing and activities. Coloring pages are always a great go to, but this week I wanted a hands on visual. I made this Naaman visual that let the kids “cure” Naaman of leprosy. Both of my kids happen to be in the class that I used this for, but I plan on including more from the older kid’s class once I start teaching it again.
How to Make Naaman with Removable Leprosy
Naaman Craft Materials:
- Hole Punch
- Red Paper
- Laminator
- Velcro
Creating a Naaman Craft for Preschoolers and Toddlers:
To start, you need a picture of Naaman. This was actually the hardest part of this craft for me. All the pictures I could find had him with leprosy. I ended up using an illustration of one of David’s mighty men from Free Bible Images. Then, I printed it and cut it out.
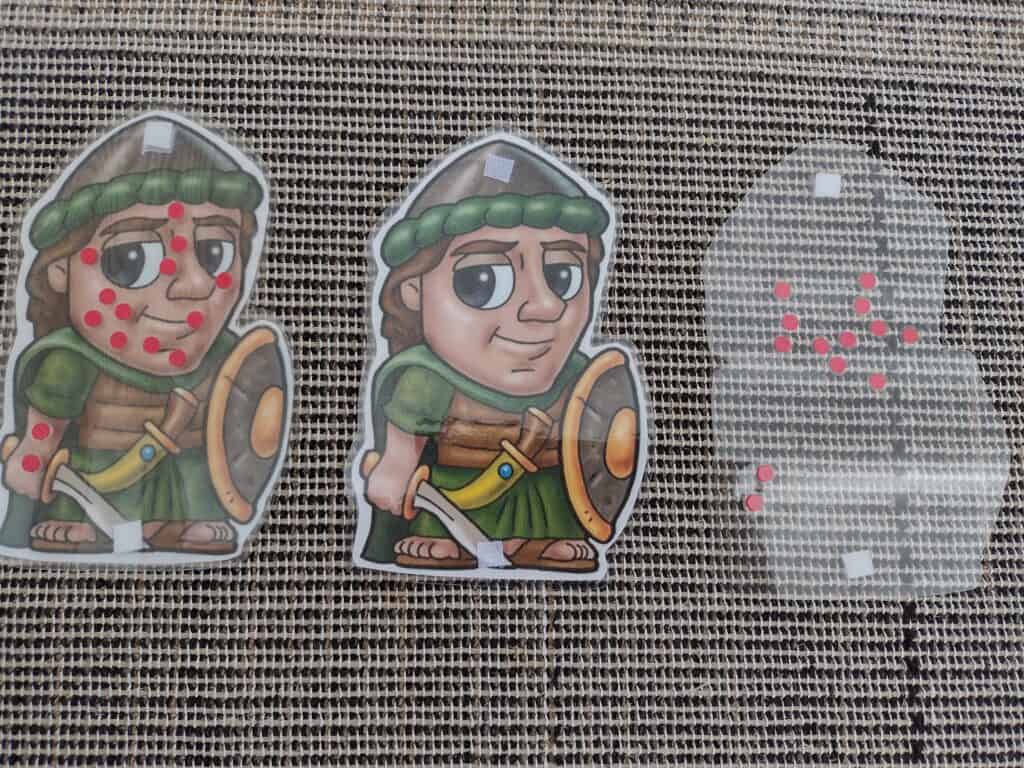
Next, I needed to make the leprosy. I used a hole puncher to make a whole lot of dots from a sheet of red paper. Then, I put the picture of Naaman under a laminating pouch. I placed the red dots in the pouch on Naaman’s face and arm. I was in such a hurry making them that I didn’t take pictures at the time. So, you may notice other steps have already been done on Naaman in the below pictures. I took them after I had already finished to show you how I did it.
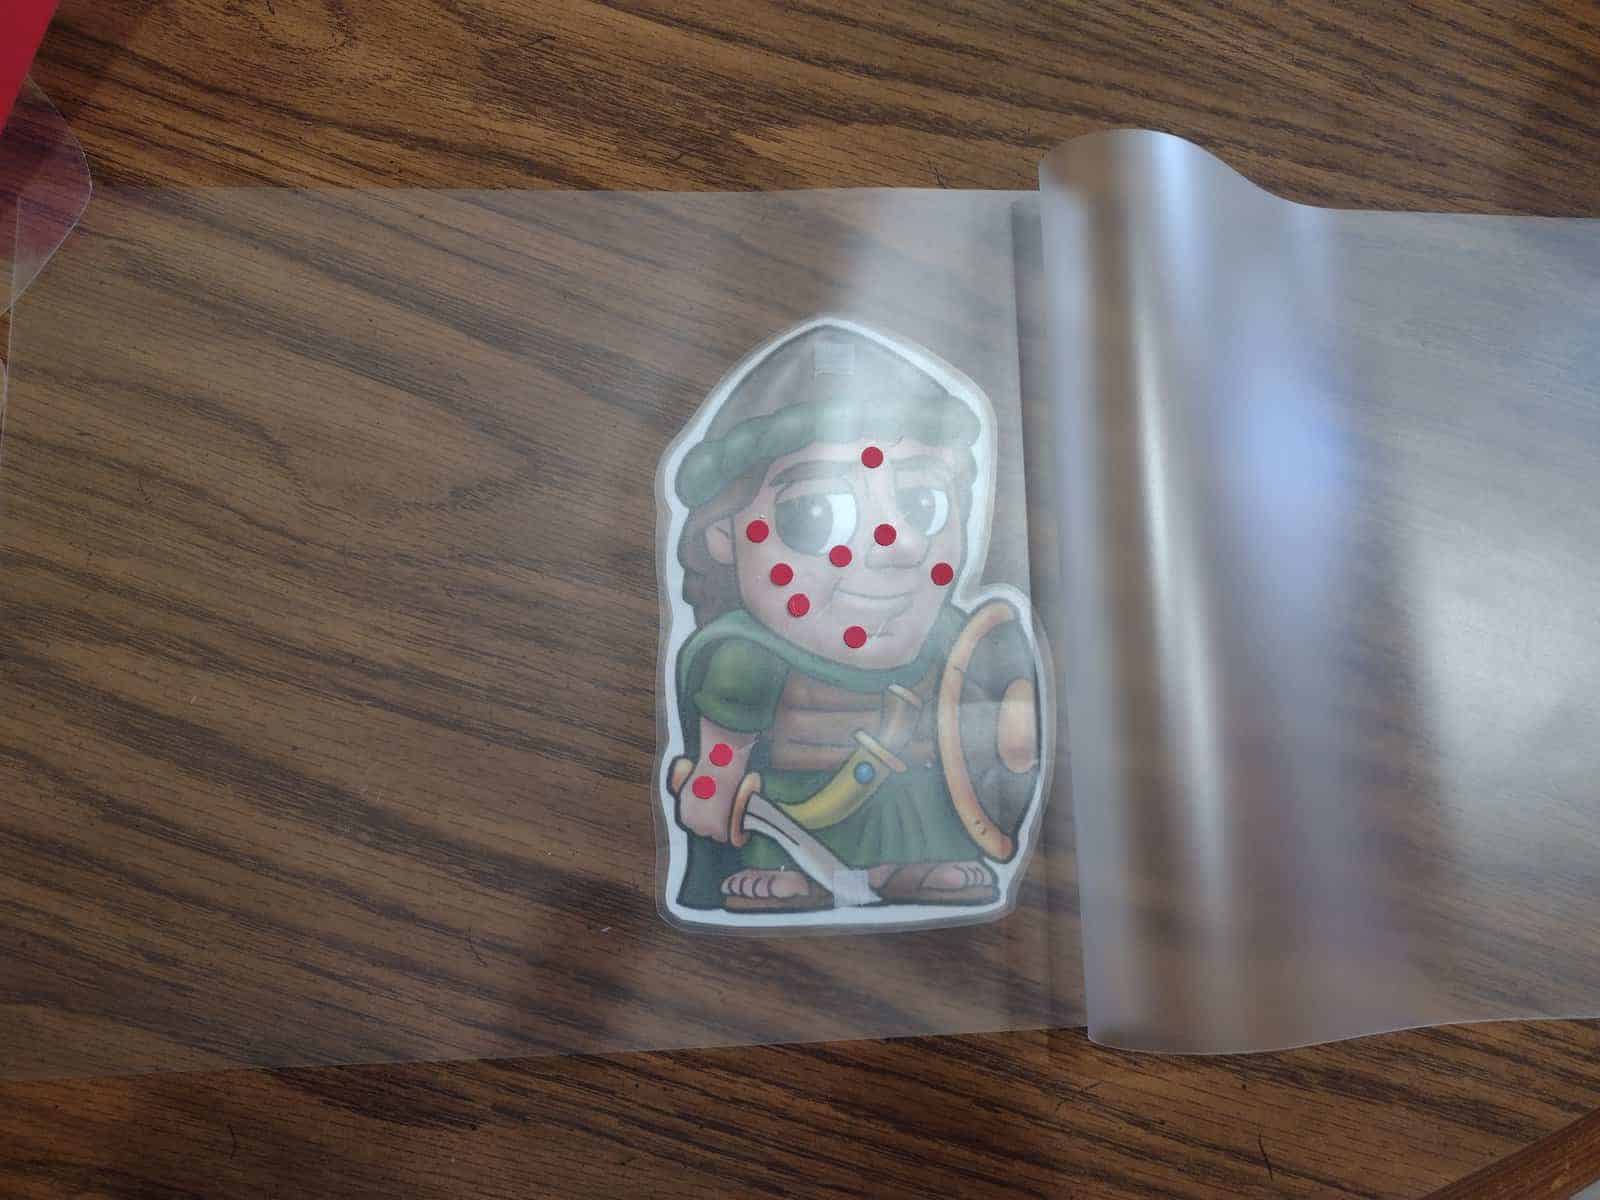
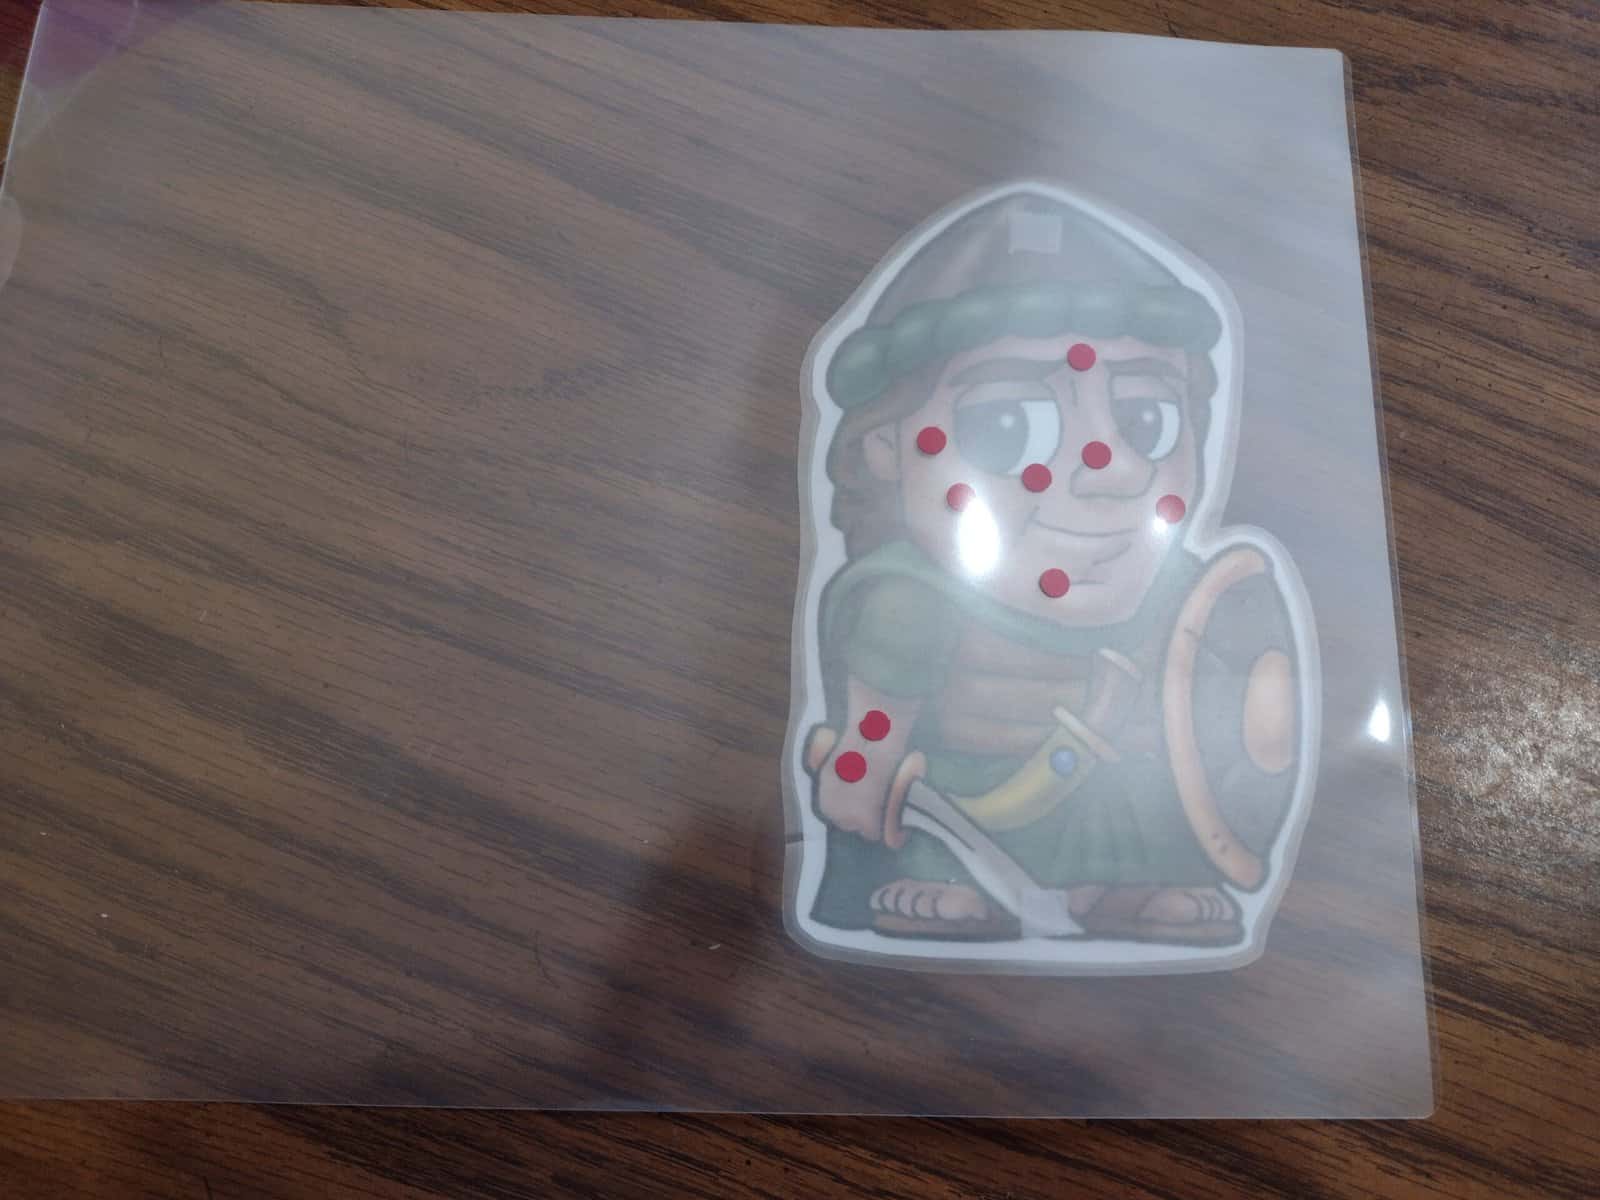
Then, I laminated everything. I was super careful moving my laminating pouch with the red dots so that they didn’t move. Once I laminated everything, I cut out Naaman. Then I placed him under the red dot laminated sheet. Once I lined up where the leprosy should be, I used Naaman as a pattern to cut out my red dots. I now had a laminated Naaman and laminated leprosy in the shape of Naaman.
Lastly, I added small strips of Velcro to the top and bottom of Naaman and the leprosy. This let me take on and off the leprosy from this Naaman craft for preschoolers. I used these Velcro strips in a very similar way when I made my daughter laminated paper dolls.
How to Use Naaman in Bible Class:
When we got to Bible class, I handed all the kids their own Naaman with the leprosy on. While we read about Naaman, we acted it out with our craft. We all dipped our Naamans under the desk seven times while counting. Then, we took off his leprosy. The kids all got to take their visual home so they could keep playing with it.
Conclusion of Naaman Craft for Preschoolers and Toddlers:
The kids seemed to enjoy using their Naaman to follow along as they learned about him. But, since we used it while we read, it really didn’t take much time. Even doing it a couple extra times was super quick. So, I really should have still done a coloring sheet or something else to use up a bit more time. We sang a whole bunch of songs instead. Who is your kid’s favorite person in the Bible?