My three year old daughter loves coloring. It doesn’t matter if she uses crayons, pens, markers, dot markers, etc. she will color for hours. My 18 month old son also loves coloring supplies. BUT, he enjoys them a little too much with his teeth. When I heard about painting with ice, I thought it was the perfect activity to do with the two of them. I would rather my son get a mouthful of frozen food coloring than a bite of crayon or marker.
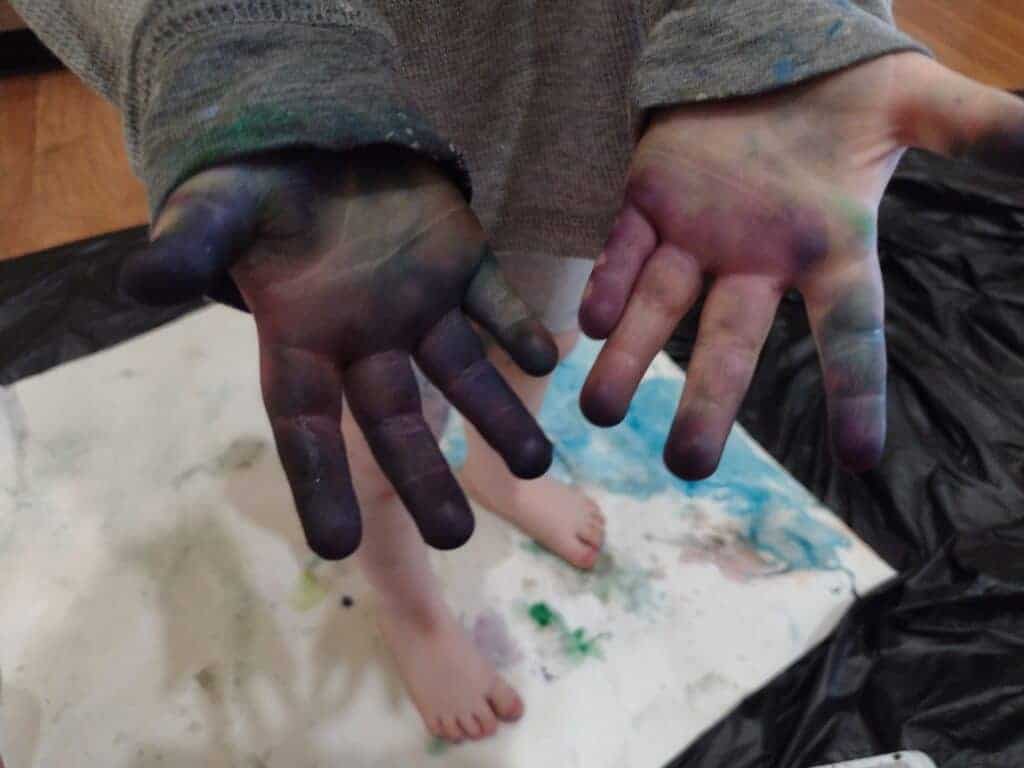
It was an absolute hit! We ended up doing it two days in a row. I learned a lot from our first attempt, so our second time was even more fun. My son enjoyed it so much that it didn’t even end up in his mouth. It was quite messy, but sometimes you just need a messy activity. Fun a Day talks about several ways mess can be beneficial for kids.
Disclaimer: This page may contain affiliate links. As an Amazon Associate I earn from qualifying purchases. If you choose to make a purchase after clicking a link, I may receive a commission at no additional cost to you. Thank you for your support!
How To Paint With Ice
Materials:
- Ice cube tray
- Food coloring
- Mini popsicle sticks
- Plastic tablecloth (optional)
- Poster board (optional)
Making the Ice Paint:
Since you will have to wait for your paint to freeze, you do need to make your paints several hours ahead of time. Making them is super easy, but it does take some trial and error. First, get out your ice cube tray and fill it with water.
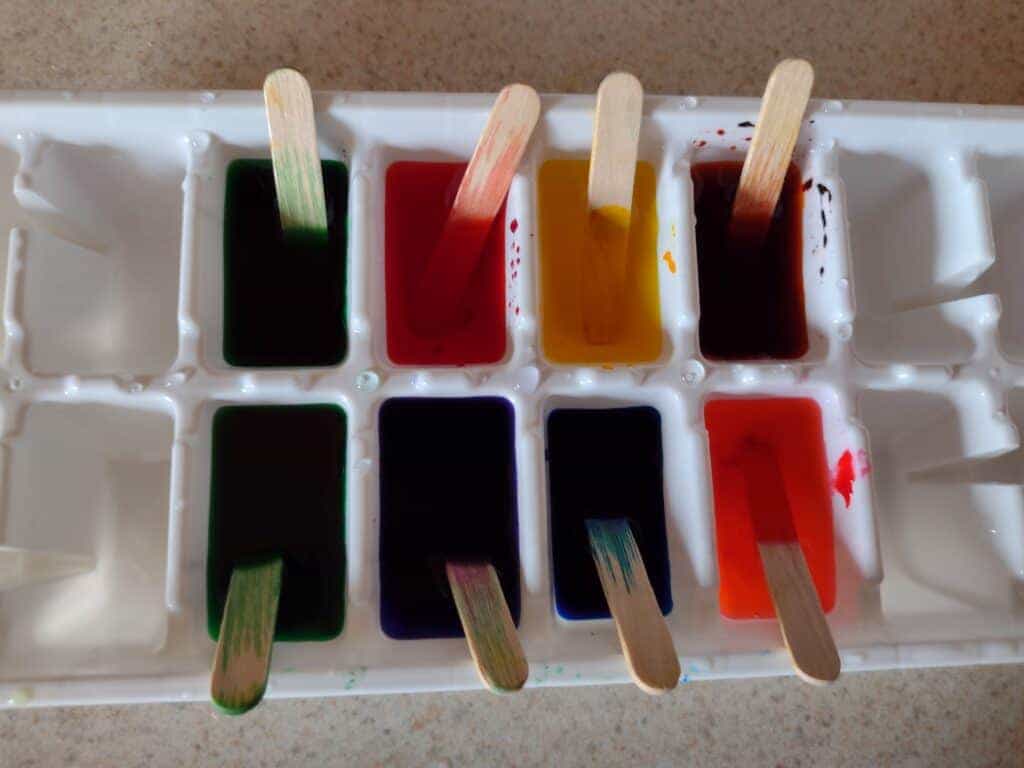
Then, take your food coloring and mix it in. I used gel food coloring, but liquid food coloring would probably be even easier. I mixed the dye into the water using mini popsicles sticks and left them in afterwards. The amount of food coloring to use will be a bit of trial and error. The first time, I didn’t use enough. Most of the colors barely showed up when my kids used them (not that it stopped them from having fun). The second time, they showed up really well. But, my kids basically only had to look at them to get food coloring everywhere.
Here is what the food coloring water looked like before freezing both times:

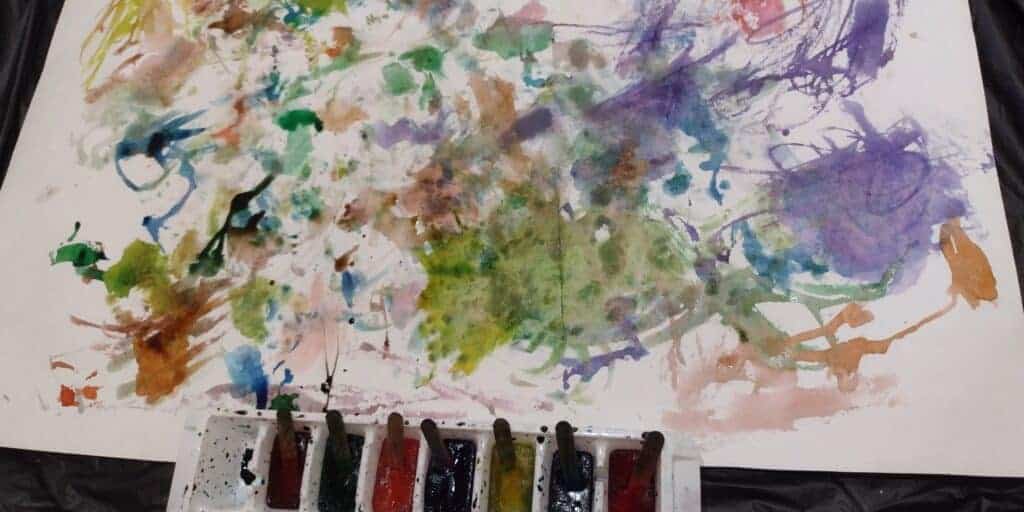
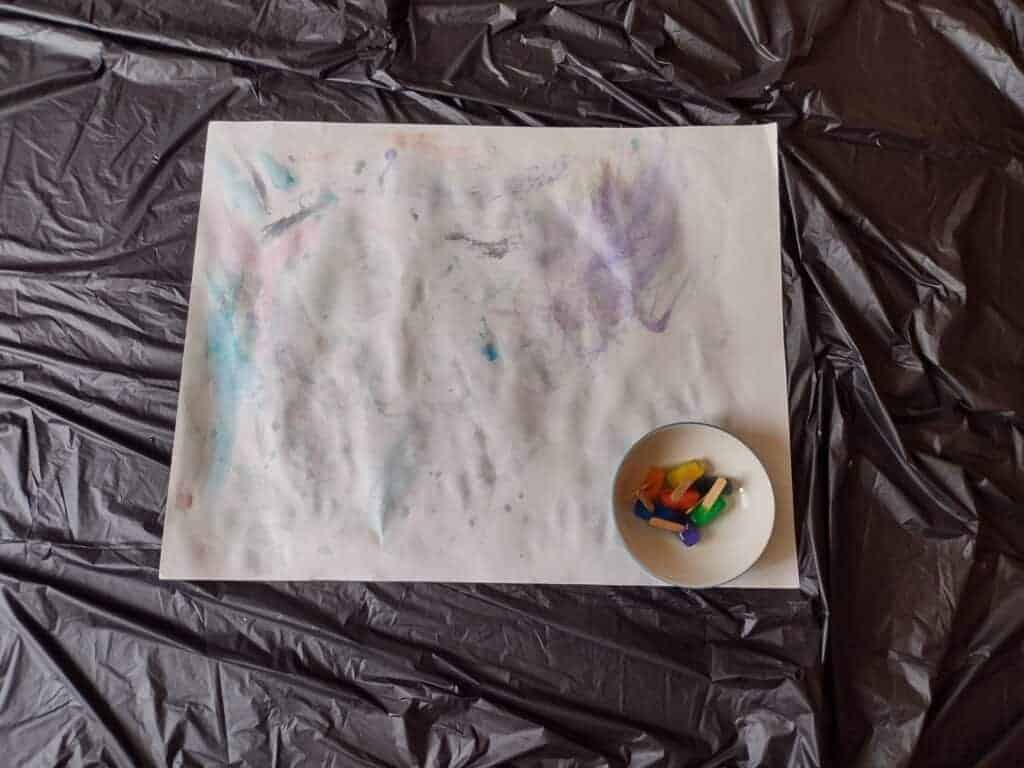
And here is how well they showed up:
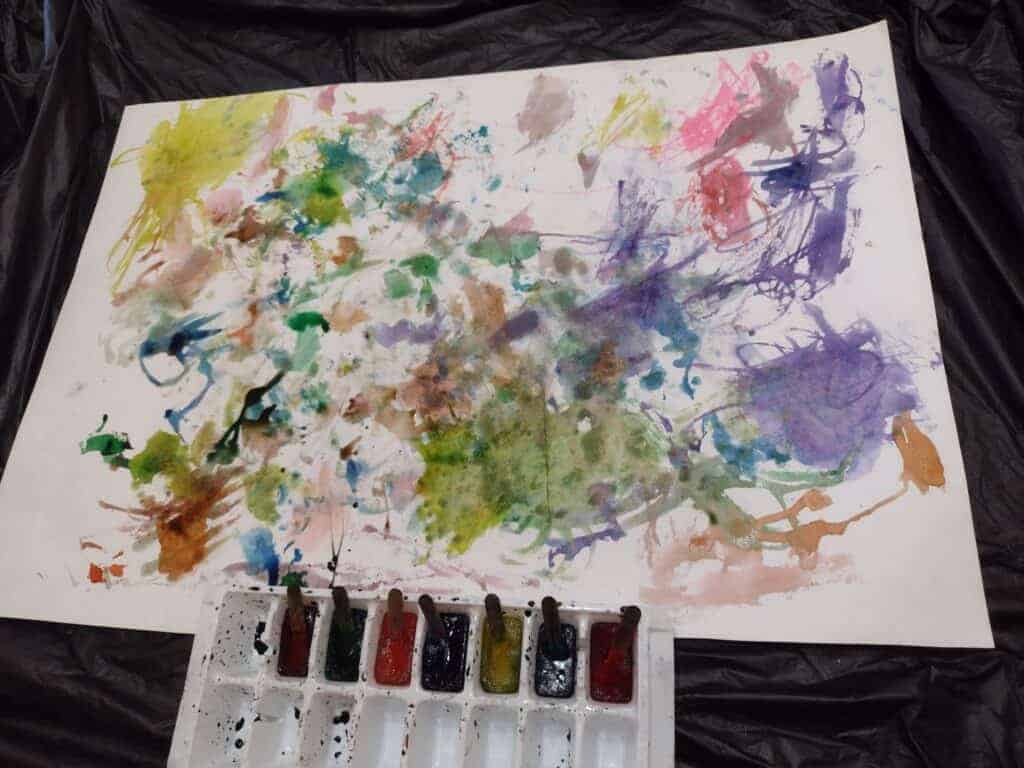
Now, place your ice cube tray in your freezer and wait for your paints to freeze.
Painting With Ice With a Toddler and Preschooler:
Once your ice colors are ready, it’s time to paint. Well…after protecting your house and kids as much as possible. I used many of the same strategies as I do with painting. First, I changed my three year old into her painting clothes. I dressed my 18 month old down to just his diaper. Then, I spread a plastic tablecloth on the floor and placed a thin sheet of poster board in the center of it. The first time we did it, outside was too hot. The second time I was overconfident from using the lighter colors the day before. It probably would have been better to just do this outside.

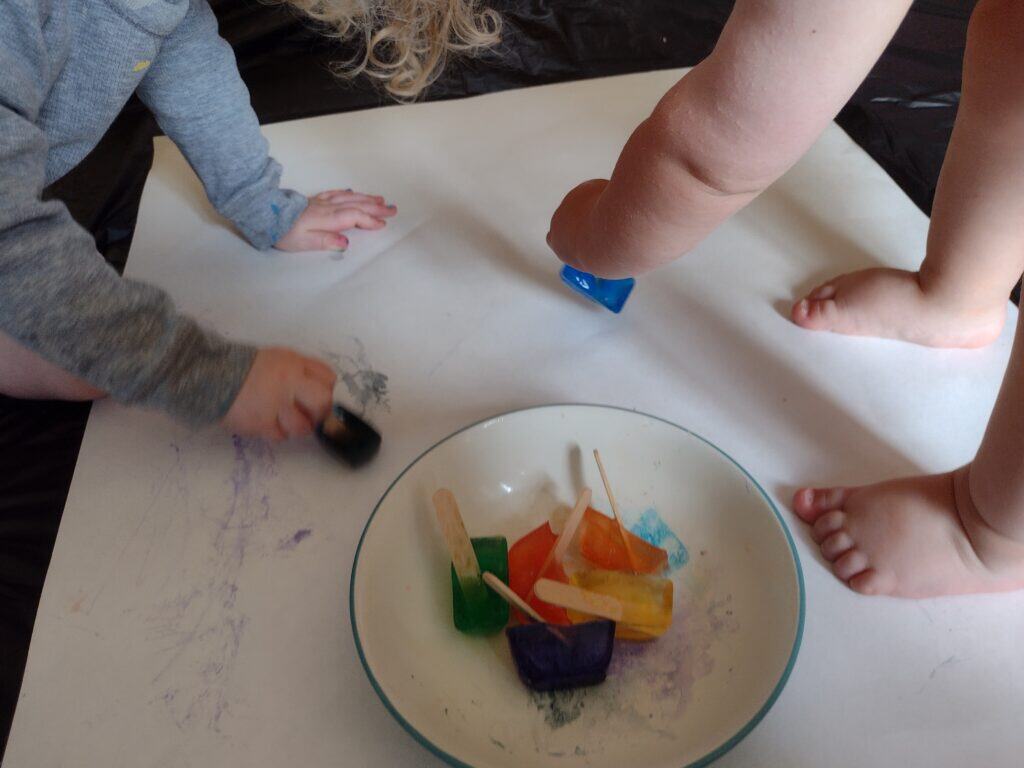
Now that we were actually ready, I placed all the colors in a bowl and handed it to my children. I learned that this also wasn’t a great idea. All the colors blended together and frustrated my daughter. So, I ended up placing them back in the ice cube tray to keep them separate.

Then, I let my kids color with the ice cubes to their heart’s content. I tried to encourage the ice cubes ending up back in the tray when they switched colors. I switched the paper once when it got really full.


Cleaning Up:
They played until my son started trying to run off with the colors. At that point, we stopped and threw all the ice cube paints into the sink. What a great clean up….except for the popsicle sticks that fell down the garbage disposal and broke it the next time I ran it. Don’t worry, my husband was able to fix it. But, do be careful with where your sticks end up.
Then, my kid’s were such a mess that we went outside and I hosed them off . It was a really nice day, so neither of them minded getting sprayed with water. I made to sure to wait until the water cooled off before spraying them to avoid burns. This would have been even simpler if we had made the craft outside to begin with. If you want to stay outside for a while, you can turn cleaning them off into a fun game. Check out these fun water hose games on Things to Share and Remember.

Conclusion of Painting With Ice:
While this was definitely a messy activity, it was a super fun one. It isn’t often that I find something that both kids enjoy so much and can even do together. We will be painting with ice again and continuing to try to find the optimal amount of food coloring. It seems like a lot of my crafts have used food coloring lately, check them out here.
Free coloring was a lot of fun. I think coloring in a picture or drawing pictures with these ice paints when they are older would be fun too. I love open ended activities like this that can really grow with your children. What did your kids think of painting with ice?