Disclaimer: This page may contain affiliate links. As an Amazon Associate I earn from qualifying purchases. If you choose to make a purchase after clicking a link, I may receive a commission at no additional cost to you. Thank you for your support!
I couldn’t find a cheap polka dot tablecloth that I liked for my son’s ball themed birthday party. The one that I planned on getting, ran out of stock before I had the chance to go buy it. So, I started thinking of ideas on how to make my own. All of my ideas were too time consuming, expensive, or tedious. Eventually, after a lot of googling, I came across this idea from Design Mom of using bubble wrap to paint a tablecloth. I liked the concept, and tweaked it to make a polka dot tablecloth for my son.
It turns out that this idea didn’t only work, but it was a lot of fun. There is something therapeutic about squishing bubble wrap, even if you don’t get to pop it. It was super simple and if I were to do it again, I may even let my kids help.
How to Paint a Polka Dot Tablecloth
Materials:
Prep:
Before getting started, I did a little bit of prep. First, I spread my tablecloth out on the table. A larger flat area that fit the whole cloth instead of some dangling would be even better. I would have used the floor, but being pregnant, leaning over that much wasn’t going to happen. I used a plastic tablecloth, but this would also work with a cloth tablecloth.

Then, I cut my bubble wrap. I cut a single bubble out for each color. I guess you could use just one and wash it, but I didn’t see a point with how little bubble wrap it used. Lastly, I squirted my paint out on a paper plate for easy dipping. I chose red, yellow, green, and blue to match the balloon garland I made for the party.

Painting:
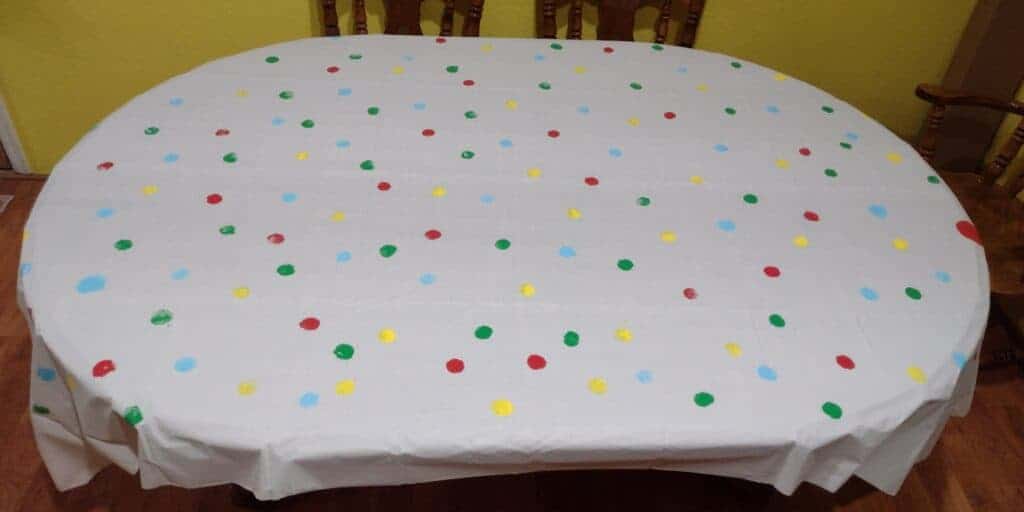
Now it was time for the fun part! I dipped my bubble wrap bubble into the paint and then dotted it onto the tablecloth. I did this a few times before needing to dip it back in the paint. If a dot looked a little wonky, I just made it into a slightly bigger polka dot by rolling the bubble around more. Since my tablecloth didn’t fully fit on the table, I slid it back and forth as needed to polka dot the entire area.

After finishing with my blue dots, I continued with the next color. I tried to have similar distribution of each color as I added them. When I finished, I went back and added any colored dots that seemed sparse in that area.


Once I finished the tablecloth, I painted two smaller pieces similarly. I placed these under the food area of my son’s ball party.


Conclusion of Painting a Polka Dot Tablecloth
I was really worried that making my own polka dot tablecloth would be really boring and take forever. This bubble wrap method was really quick and even fun. I would definitely do it again and will probably adapt it into an activity for my kids some day. They love painting. Let me know in the comments what you think of this fun trick and check out these other fun bubble wrap crafts.